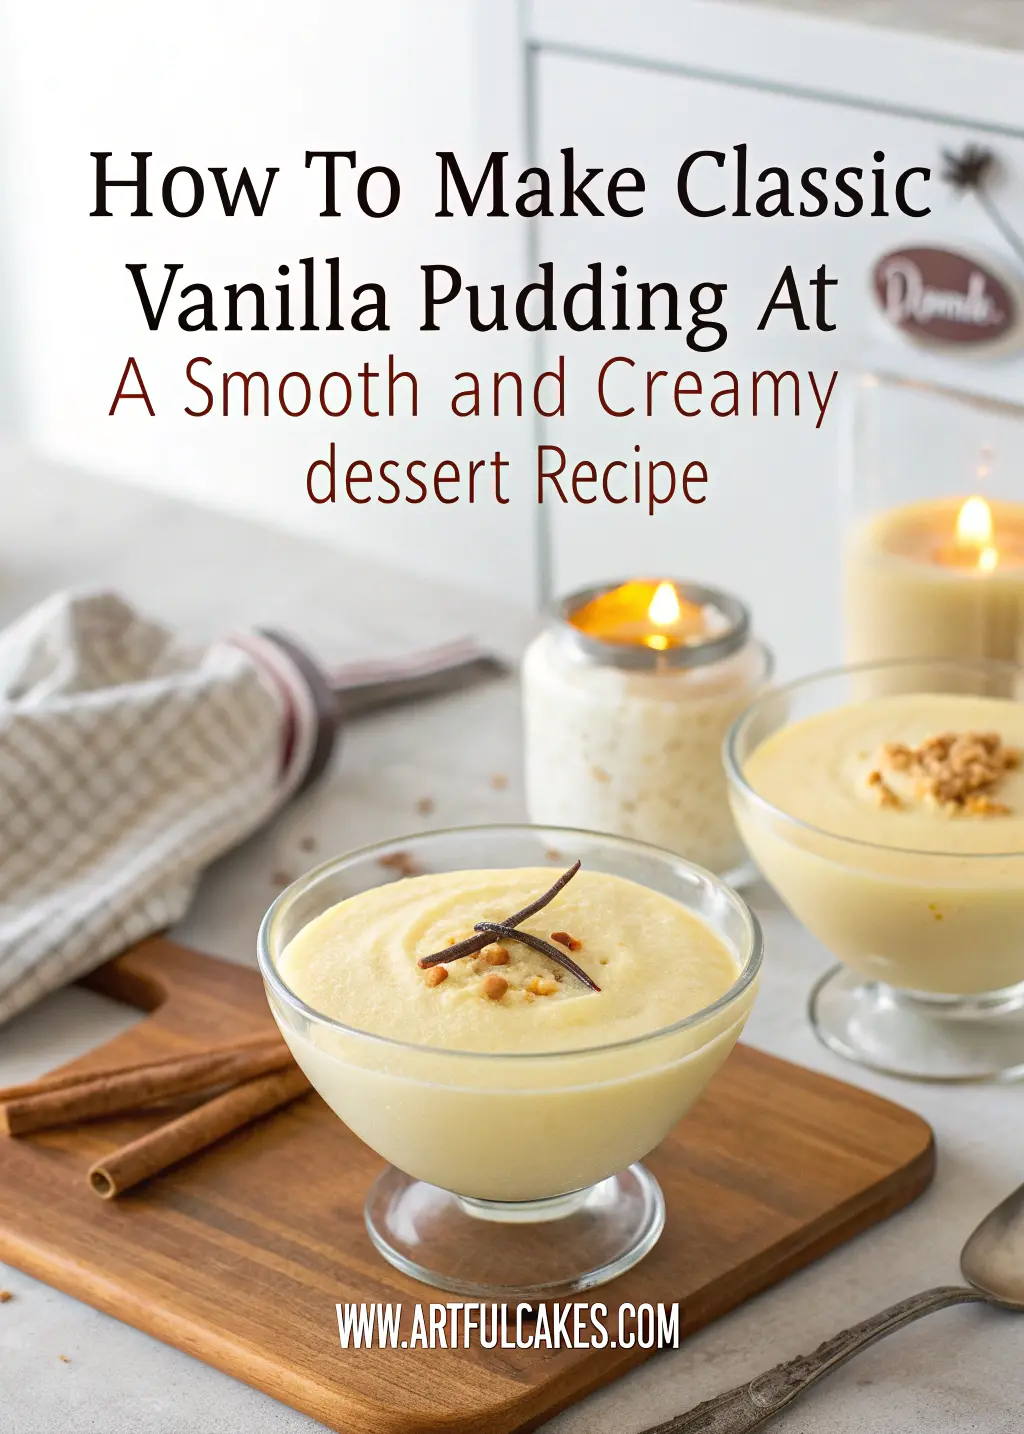
How to Make Classic Vanilla Pudding at Home: A Smooth and Creamy Dessert Recipe That Brings Back Childhood Memories
Picture yourself standing in your grandmother’s kitchen, mesmerized by the gentle bubbling of milk on the stove and the intoxicating scent of pure vanilla wafting through the air. That first taste of warm, silky vanilla pudding wasn’t merely dessert—it was liquid comfort that wrapped around your soul like a warm hug on a cold day.
In today’s world of artificial shortcuts and processed convenience foods, creating homemade vanilla pudding represents something precious: a return to authentic flavors and the therapeutic ritual of slow cooking. When you master this timeless recipe, you’re not just preparing dessert; you’re crafting memories and honoring culinary traditions passed down through generations.
Table of Contents
Why Your Kitchen Deserves Homemade Vanilla Pudding
Store-bought pudding cups might seem convenient, but they pale in comparison to what you can achieve in your own kitchen. Commercial varieties often contain artificial flavors, preservatives, and stabilizers that mask the pure, clean taste of real vanilla. When you prepare vanilla pudding from scratch, you control every ingredient, ensuring nothing but wholesome, natural components touch your spoon.
The cost benefits are equally compelling. A single batch of homemade vanilla pudding typically costs less than two store-bought containers while yielding superior quality and flavor. More importantly, you eliminate unnecessary additives while gaining the satisfaction of creating something genuinely special with your own hands.
Essential Ingredients for Perfect Vanilla Pudding
Success begins with selecting quality ingredients. Your foundation consists of whole milk and heavy cream, which provide the rich, luxurious base that sets exceptional pudding apart from ordinary versions. Fresh egg yolks serve as natural thickeners while contributing to that signature custard-like texture.
| Ingredient | Quantity | Purpose |
|---|---|---|
| Whole Milk | 2 cups | Creamy base |
| Heavy Cream | ½ cup | Added richness |
| Egg Yolks | 3 large | Natural thickener |
| Granulated Sugar | ⅓ cup | Balanced sweetness |
| Cornstarch | 3 tablespoons | Texture stabilizer |
| Pure Vanilla Extract | 2 teaspoons | Authentic flavor |
| Unsalted Butter | 2 tablespoons | Silky finish |
| Salt | ¼ teaspoon | Flavor enhancement |
Choose pure vanilla extract over imitation varieties—the difference in taste will astound you. Real vanilla contains complex flavor compounds that artificial versions simply cannot replicate. Similarly, fresh egg yolks from quality sources will give your pudding a deeper color and richer mouthfeel.
Your Step-by-Step Vanilla Pudding Journey
Preparation Phase
Begin by gathering all ingredients at room temperature, which ensures smooth blending and prevents temperature shock during cooking. Separate your egg yolks carefully, saving the whites for another recipe. Set up your workspace with all necessary tools within easy reach—this recipe moves quickly once you begin.
Creating the Foundation
Pour your milk and cream into a heavy-bottomed saucepan, then heat gently until small bubbles form around the edges. Avoid boiling, as excessive heat can cause the mixture to scorch or develop an unpleasant skin. This gentle heating process infuses the dairy with warmth while preserving its delicate structure.
Building the Thickening Base
While your milk mixture warms, whisk the egg yolks with sugar until they become pale and slightly thick. This process, called ribboning, creates the foundation for your pudding’s luxurious texture. Gradually add cornstarch and salt, whisking continuously to eliminate any lumps.
The critical moment arrives during tempering—slowly adding hot milk to the egg mixture while whisking vigorously. This technique prevents the eggs from scrambling by gradually raising their temperature. Add the warm milk in a thin, steady stream while maintaining constant motion with your whisk.
The Final Cooking Phase
Return the combined mixture to your saucepan and place over medium-low heat. Stir constantly with a whisk or wooden spoon, paying special attention to the bottom and corners where the mixture tends to stick. Your pudding will gradually thicken, transforming from liquid to silky custard in approximately 8-12 minutes.
Watch for the moment when your whisk leaves temporary trails in the mixture—this signals perfect consistency. The temperature should reach 170-175°F for optimal thickness without compromising the eggs’ delicate structure.
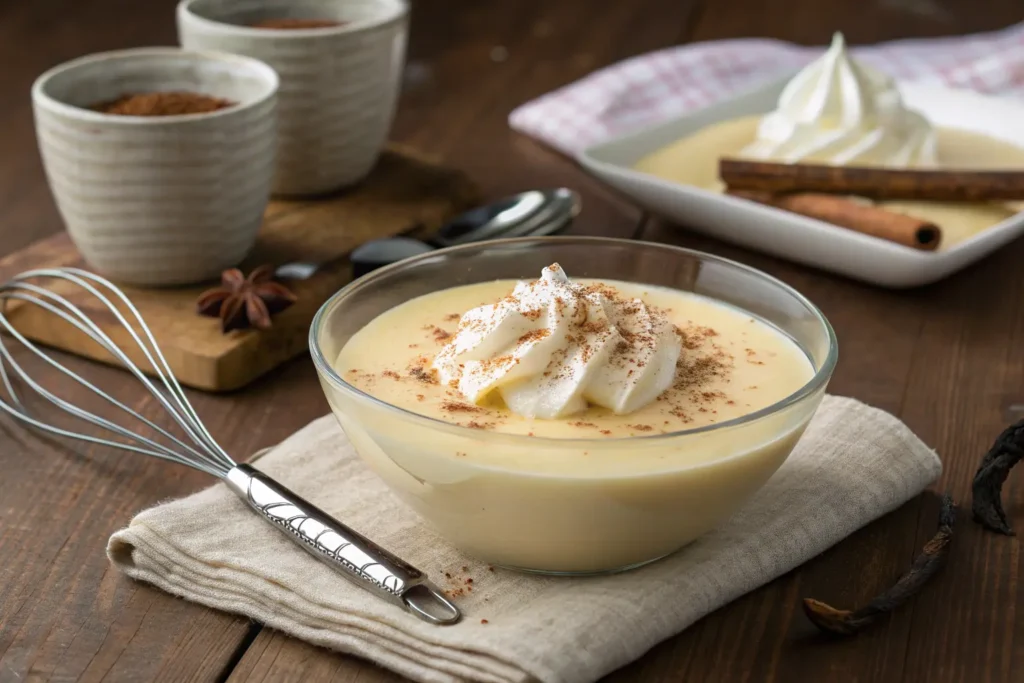
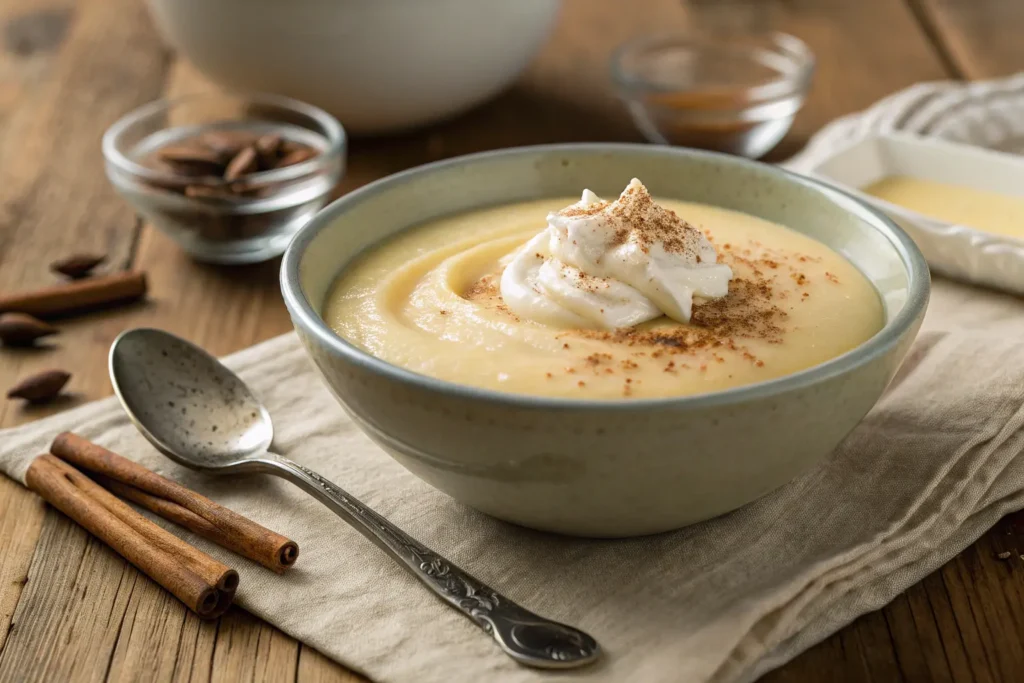
Achieving Silky Perfection
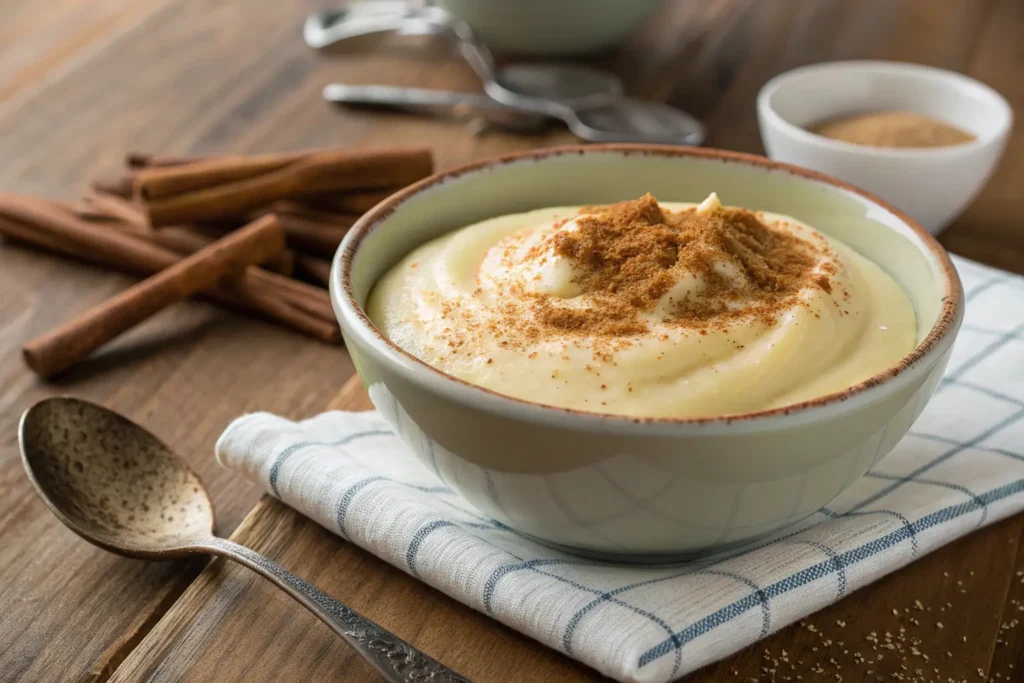
Strain your finished pudding through a fine-mesh sieve to eliminate any lumps or cooked egg bits. This step separates good pudding from exceptional pudding, ensuring every spoonful delivers pure, smooth indulgence. Whisk in vanilla extract and butter while the mixture remains warm—the residual heat will melt the butter completely while preserving the vanilla’s aromatic qualities.
Common Mistakes and Their Solutions
Temperature control represents the most frequent challenge in vanilla pudding preparation. Cooking over excessive heat causes eggs to curdle, creating an unpleasant grainy texture. Always maintain gentle heat and constant stirring to achieve consistent results.
If your pudding appears lumpy despite careful preparation, don’t despair. Strain it through progressively finer sieves, or use an immersion blender to restore smoothness. For thin pudding, return it to low heat and cook briefly while stirring—the mixture will continue thickening as it cools.
Storage and Serving Excellence
Transfer your vanilla pudding to individual serving dishes or a large bowl, then press plastic wrap directly onto the surface. This prevents the formation of skin while cooling. Refrigerate for at least two hours before serving to achieve optimal consistency.
Your homemade vanilla pudding will maintain peak quality for 3-4 days when properly stored. Serve it chilled as a standalone dessert, or use it as a base for trifles, pie fillings, or layered parfaits with fresh berries and whipped cream.
Frequently Asked Questions About Vanilla Pudding
How long does vanilla pudding take to thicken completely? Your vanilla pudding will achieve perfect consistency after 2-3 hours of refrigeration, though it begins thickening immediately upon cooling.
Can I make vanilla pudding without eggs? While possible using additional cornstarch, egg-based vanilla pudding provides superior richness and traditional texture that’s difficult to replicate.
Why does my vanilla pudding develop a skin? Surface skin forms when pudding is exposed to air during cooling. Prevent this by pressing plastic wrap directly onto the pudding’s surface before refrigerating.
Transform Your Dessert Game Today
Mastering homemade vanilla pudding opens doors to countless culinary possibilities. This foundational skill empowers you to create restaurant-quality desserts while avoiding artificial ingredients and excessive costs. The pure satisfaction of crafting something genuinely delicious from simple ingredients cannot be overstated.
Your family and friends will notice the difference immediately—the clean vanilla flavor, silky texture, and obvious care invested in every spoonful. Once you experience the superior quality of homemade vanilla pudding, returning to store-bought versions becomes unthinkable.
Don’t wait another day to reclaim this classic dessert tradition. Gather your ingredients, warm up that saucepan, and prepare to create vanilla pudding that will become a treasured family recipe. Share your results with loved ones, and watch their faces light up with that same childhood wonder you felt in your grandmother’s kitchen. The magic of homemade vanilla pudding awaits—your spoon is ready.