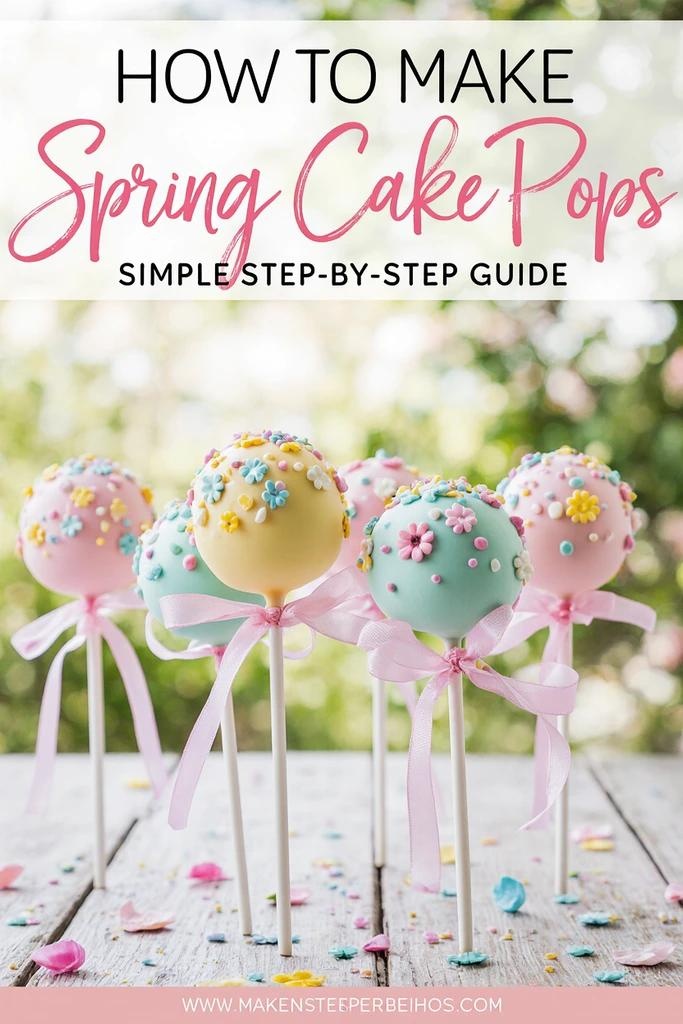
Spring Cake Pops: How to Make Beautiful Treats for the Season (Simple Step-by-Step Guide)
Spring always brings a sense of renewal — brighter days, blooming flowers, and fresh opportunities to create something special in your kitchen. If you’re looking for a cheerful dessert that’s both simple and eye-catching, Spring Cake Pops are the perfect choice. You don’t need advanced baking skills or expensive tools. With a few ingredients and a little creativity, you can make colorful bite-sized treats that instantly elevate any spring celebration.
Whether you’re planning an Easter brunch, a baby shower, or just want to surprise your family, this step-by-step guide will show you exactly how to make spring cake pops from scratch — and make them look bakery-worthy.
What Are Spring Cake Pops?
Spring cake pops are small, round cake bites mixed with frosting, placed on sticks, and coated in pastel-colored candy melts. They’re decorated using spring-inspired themes like flowers, butterflies, and soft seasonal colors.
You’ll love them because they are:
- Easy to make with leftover cake
- Perfect for spring gatherings
- Simple to decorate creatively
- Great for kids and adults alike
- Ideal as party favors or dessert table highlights
These adorable treats combine convenience with creativity, making them one of the most popular seasonal desserts.
Ingredients You Need for Spring Cake Pops
Below is a simple ingredients table to help you prepare everything before starting.
| Ingredient | Quantity | Notes |
|---|---|---|
| Baked cake (any flavor) | 1 cake | Vanilla, lemon, or strawberry works best |
| Frosting | 3–4 tablespoons | Cream cheese or buttercream |
| Candy melts | 2 cups | Pastel colors for spring theme |
| Lollipop sticks | 15–20 | Standard cake pop sticks |
| Sprinkles | As needed | Spring-themed decorations |
| Vegetable oil | 1 teaspoon | Optional, for smoother coating |
You can also add optional decorations like edible flowers, colored sugar, or mini pearls to enhance the spring look.
Tools Required to Make Spring Cake Pops
Before you begin, gather these basic kitchen tools:
- Large mixing bowl
- Baking tray
- Parchment paper
- Microwave-safe bowl
- Spoon or spatula
- Cake pop stand (optional)
- Refrigerator
Having everything ready makes the process smoother and more enjoyable.
Step-by-Step Guide: How to Make Spring Cake Pops
Step 1 – Bake and Cool the Cake
Start by baking your favorite cake. You can use homemade batter or a boxed mix — both work well. Once baked, allow the cake to cool completely. Warm cake can make the mixture too soft and difficult to shape.
Step 2 – Crumble the Cake
Place the cooled cake into a large bowl and crumble it using your hands. You want fine, even crumbs without large chunks. Removing darker edges is optional but helps achieve a smoother texture.
Step 3 – Mix with Frosting
Add frosting gradually, one tablespoon at a time. Mix until the crumbs hold together like soft dough. Avoid adding too much frosting — you only need enough to bind the cake.
Step 4 – Shape into Balls
Scoop small portions and roll them into even balls. Aim for about one inch in diameter. Place them on a lined tray and refrigerate for 20–30 minutes to firm up.
Step 5 – Insert Cake Pop Sticks
Melt a small amount of candy melts. Dip the tip of each stick into the melted coating, then insert it halfway into each cake ball. This helps secure the stick. Chill again for 10 minutes.
Step 6 – Dip in Candy Coating
Melt the remaining candy melts in a microwave-safe bowl. Dip each cake pop slowly into the melted coating until fully covered. Gently tap off excess coating for a smooth finish.
Step 7 – Decorate Your Spring Cake Pops
Before the coating hardens, add your decorations. You can sprinkle, drizzle, or design each pop with different patterns. Place them upright in a stand and let them dry completely.
Creative Spring Cake Pops Decorating Ideas
Spring is all about color and creativity. Here are a few decorating ideas you can try:
Pastel Color Themes
- Soft pink
- Mint green
- Lavender
- Baby blue
- Light yellow
Spring Designs
- Flower-shaped cake pops
- Easter egg patterns
- Butterfly decorations
- Polka dots
- Rainbow drizzle
Toppings to Try
- Edible glitter
- Coconut flakes
- Colored sugar crystals
- Mini candy pearls
- White chocolate drizzle
Mixing colors and textures gives your cake pops a unique spring look.
Tips for Perfect Spring Cake Pops
Follow these tips to avoid common problems:
- Chill cake balls before dipping
- Use thin candy coating for smooth finish
- Avoid overmixing frosting
- Work in small batches
- Use a deep cup for easier dipping
- Let excess coating drip off naturally
These small details make a big difference in the final appearance.
Common Mistakes to Avoid When Making Spring Cake Pops
Even simple recipes can go wrong. Here’s what to watch for:
- Cake pops falling off sticks (not chilled enough)
- Cracked coating (temperature difference)
- Too soft dough (too much frosting)
- Uneven coating (coating too thick)
- Overheated candy melts (causes clumping)
Keeping these in mind will help you get consistent results.
How to Store Spring Cake Pops
Proper storage keeps your cake pops fresh:
- Room temperature: up to 2 days
- Refrigerator: up to 5 days
- Freezer: up to 6 weeks
- Store in airtight container
- Keep away from moisture
If refrigerated, allow them to sit at room temperature before serving.
Serving Ideas for Spring Cake Pops
Presentation matters, especially for spring events. Try these ideas:
- Display in mason jars with decorative filler
- Arrange on a pastel dessert table
- Wrap individually for party favors
- Place in decorative boxes as gifts
- Use as centerpiece decorations
These small touches make your treats even more memorable.
FAQ About Spring Cake Pops
How do you make Spring Cake Pops without candy melts?
You can use white chocolate instead. Melt it gently and add oil for smoother texture. Then mix in pastel food coloring.
Can you make Spring Cake Pops ahead of time?
Yes, you can prepare them up to three days in advance. Store them in an airtight container in the refrigerator.
What cake flavor works best for Spring Cake Pops?
Light flavors work best for spring, such as:
- Vanilla
- Lemon
- Strawberry
- Funfetti
Why are my Spring Cake Pops cracking?
Cracking usually happens due to temperature differences between cold cake balls and hot coating. Let the coating cool slightly before dipping.
How long do Spring Cake Pops last?
They last:
- 2 days at room temperature
- 5 days refrigerated
- Up to 6 weeks frozen
Conclusion
Making Spring Cake Pops is easier than you might think. With just a few ingredients, simple steps, and a splash of creativity, you can create beautiful seasonal treats that brighten any occasion. You don’t need professional skills — just follow the guide, use pastel colors, and experiment with fun decorations.
These bite-sized desserts are perfect for spring parties, gifts, or even a weekend baking activity with family. Once you make them, you’ll see how versatile and enjoyable they are.