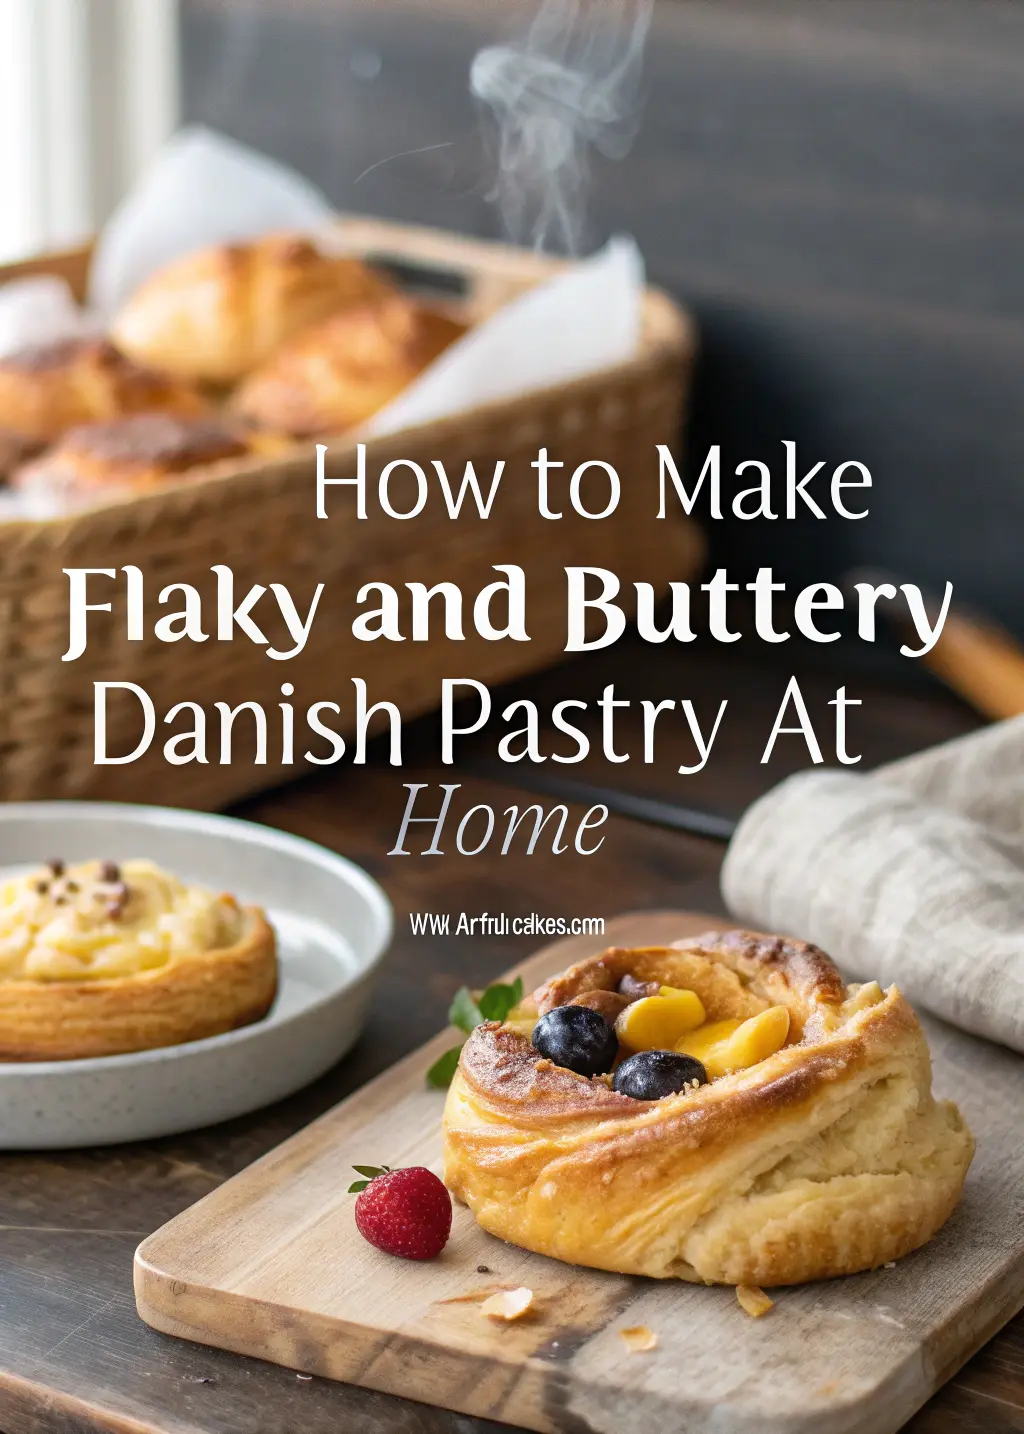
Master the Art of Danish Pastry: Create Restaurant-Quality Flaky and Buttery Pastries in Your Own Kitchen
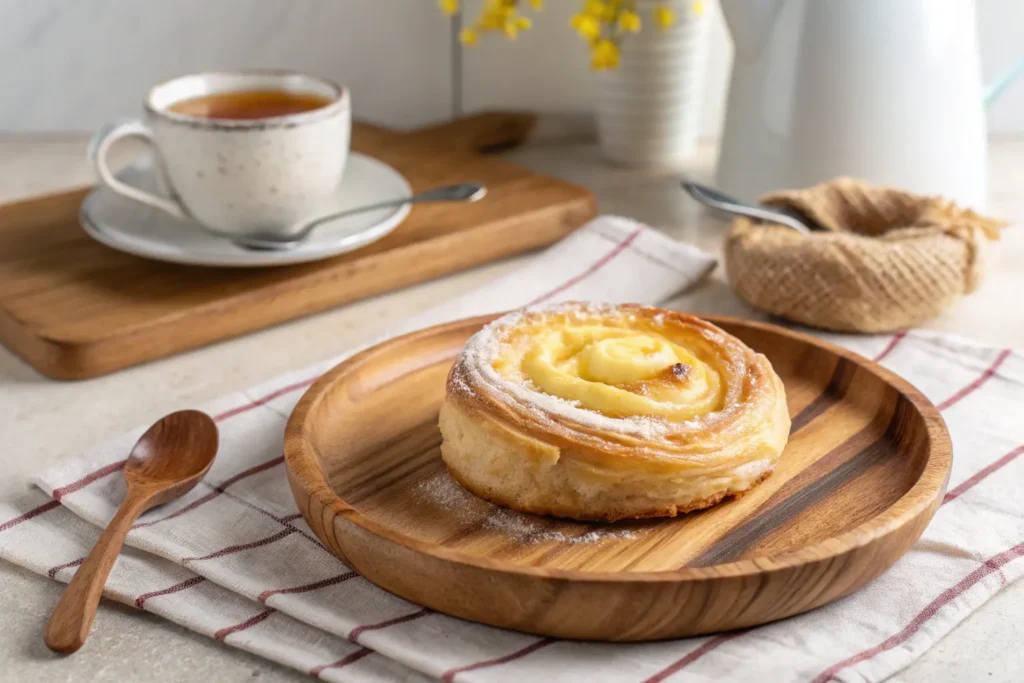
Picture this: you’re savoring that first heavenly bite of a perfectly crafted Danish pastry, watching those golden layers separate like delicate pages of a book. The buttery richness dissolves across your palate, transporting you instantly to that charming Copenhagen bakery or the neighborhood patisserie that captured your heart years ago. Yet here you stand in your own kitchen, surrounded by disappointing store-bought alternatives that taste more like cardboard than the sublime treats dancing through your memories.
What if discovering the secret to creating those same soul-stirring, professionally flaky Danish pastries required nothing more than your existing kitchen and a willingness to embrace an age-old technique? Today, you’ll unlock the mysteries behind laminated dough that will revolutionize your home baking journey forever.
Table of Contents
Understanding Danish Pastry: The Foundation of Perfect Laminated Dough
What Makes Danish Pastry Special
Danish pastry represents one of baking’s most sophisticated achievements, combining the tender crumb of enriched bread with the flaky, buttery layers that define exceptional laminated dough. Contrary to popular belief, this pastry style originated in Vienna before Danish bakers perfected the technique, creating what we now recognize as the classic Danish.
The magic lies within the lamination process—a methodical technique where you systematically fold butter into yeast-enriched dough, creating hundreds of distinct layers. When heat activates the moisture in butter during baking, steam forms between these layers, causing them to separate dramatically and produce those coveted flaky textures.
Your homemade Danish pastries will surpass commercial versions because you control every element: ingredient quality, temperature precision, and timing that mass production simply cannot achieve.
Essential Ingredients for Authentic Danish Pastry
Success begins with selecting premium ingredients that work harmoniously together. European-style butter containing 82% fat content proves essential—its lower water content prevents soggy layers while delivering superior flavor. Regular American butter, with its higher moisture content, compromises the lamination process.
| Ingredient | Quantity | Purpose |
|---|---|---|
| All-purpose flour | 500g | Structure foundation |
| European butter | 450g total | Lamination & richness |
| Whole milk | 125ml | Tenderness |
| Active dry yeast | 7g | Leavening power |
| Sugar | 50g | Sweetness & browning |
| Salt | 8g | Flavor enhancement |
| Eggs | 2 large | Binding & richness |
Each ingredient serves a specific scientific purpose. The flour provides gluten structure, while milk adds tenderness. Eggs contribute richness and help bind everything together, creating that characteristic Danish pastry texture you’re seeking.
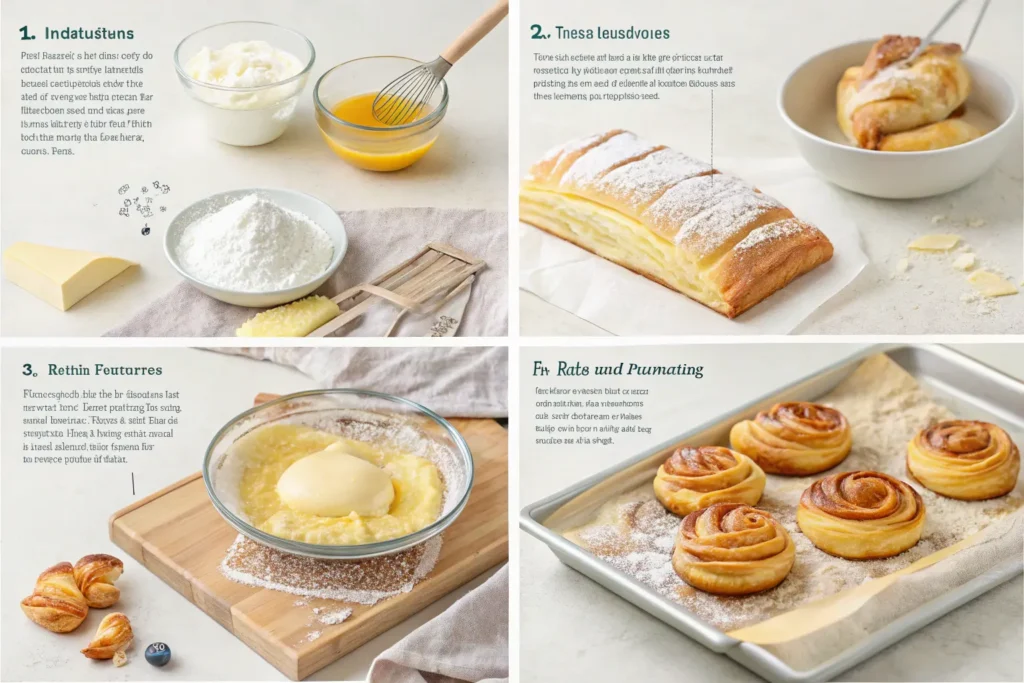
Step-by-Step Danish Pastry Dough Preparation
Making the Base Dough
Begin by activating your yeast in lukewarm milk with a pinch of sugar. This step ensures your yeast remains viable—you should observe bubbling within five minutes. Meanwhile, combine flour and salt in a large mixing bowl, creating a well in the center.
Once your yeast mixture becomes frothy, add it to the flour along with beaten eggs and remaining sugar. Mix until a shaggy dough forms, then knead gently for approximately eight minutes. Unlike bread dough, Danish pastry dough requires minimal gluten development—you want enough structure to hold the butter layers without becoming tough.
Shape your finished dough into a rectangle, wrap tightly in plastic, and refrigerate for at least two hours. This initial rest allows gluten to relax while cooling the dough to optimal lamination temperature.
Preparing the Butter Block
While your dough chills, prepare your butter block by combining the remaining 200g of cold butter with two tablespoons of flour. This flour addition helps stabilize the butter during rolling, preventing it from becoming too soft or breaking through the dough.
Pound the butter mixture between parchment sheets until it forms a rectangle roughly half the size of your dough rectangle. The butter should feel pliable yet firm—similar to the consistency of your chilled dough. Temperature harmony between butter and dough is crucial for successful lamination.
Mastering the Lamination Process
The Three-Fold Technique
Remove your chilled dough from the refrigerator and roll it into a rectangle twice the length of your butter block. Place the butter block on one half of the dough, then fold the other half over, completely encasing the butter. Seal the edges firmly to prevent butter from escaping.
Now comes the critical lamination sequence:
- First fold: Roll the dough into a long rectangle, maintaining even pressure. Fold it like a business letter, bringing one third over the middle, then folding the remaining third on top.
- Rest period: Wrap and refrigerate for 30 minutes. This prevents the butter from warming and the gluten from becoming overworked.
- Second and third folds: Repeat the rolling and folding process twice more, with 30-minute rest periods between each fold.
Temperature Control Tips
Success depends entirely on maintaining proper temperature throughout lamination. Your butter should remain pliable but never soft enough to melt into the dough. If your kitchen runs warm, extend rest periods to 45 minutes. Conversely, if butter becomes too firm, allow it to warm slightly before continuing.
Watch for visual cues: properly laminated dough appears smooth and uniform, with no visible butter streaks or tears in the surface.
Shaping and Filling Your Danish Pastries
Classic Danish Pastry Shapes
Once lamination is complete, you can create various traditional shapes:
• Pinwheels: Cut squares, make diagonal cuts from corners toward center, then fold alternate points to create windmill shapes • Envelopes: Place filling in dough squares, fold corners to center, creating neat packages • Braids: Cut strips and weave them together with filling nestled between sections
Popular Filling Options
Cream cheese filling remains the most beloved choice. Combine 8 oz softened cream cheese with 1/4 cup sugar, one egg yolk, and vanilla extract. This mixture provides richness without overwhelming the delicate pastry layers.
Fruit preserves work beautifully too—choose thick varieties that won’t make your pastries soggy. Apricot, raspberry, and cherry preserves complement the buttery pastry perfectly.
The Final Rise and Baking Process
Proofing Your Shaped Pastries
After shaping, place your Danish pastries on parchment-lined baking sheets, spacing them adequately for expansion. Cover lightly with plastic wrap and proof in a warm location (75-80°F) for 45-60 minutes.
Properly proofed pastries will appear slightly puffed and feel light when gently touched. Avoid over-proofing, which causes butter to leak out and creates dense, greasy results.
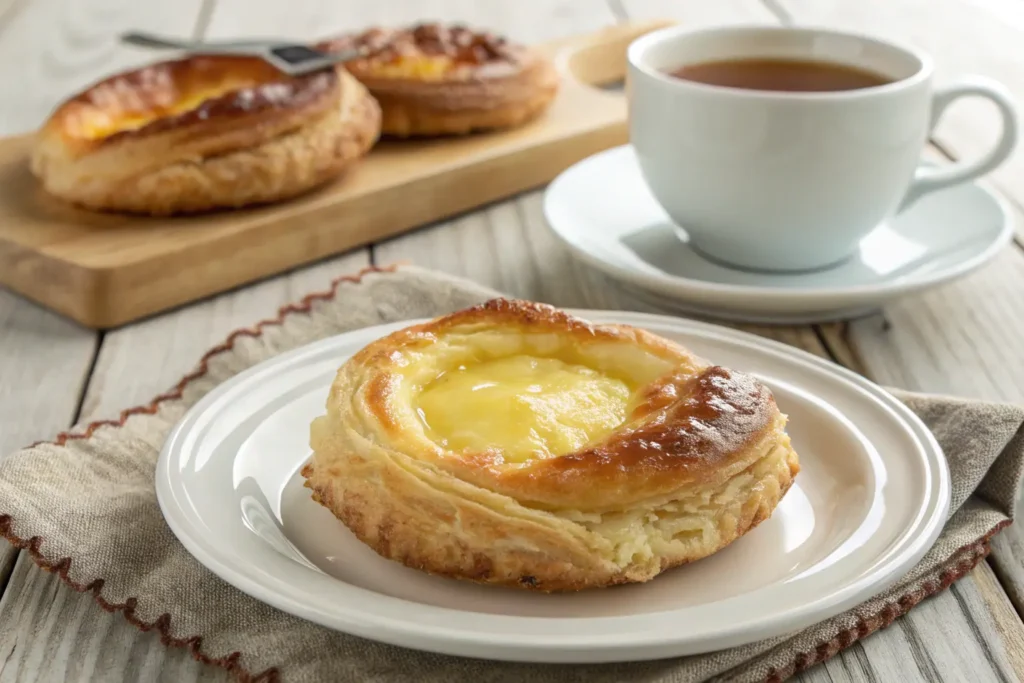
Baking for Perfect Results
Preheat your oven to 400°F and brush each pastry with beaten egg for that gorgeous golden finish. Bake for 15-20 minutes, rotating pans halfway through for even browning.
You’ll know your Danish pastries are perfectly baked when they achieve a deep golden color and sound hollow when gently tapped. The internal temperature should reach 190°F.
Frequently Asked Questions About Danish Pastry
Q: How long does Danish pastry preparation take? A: Complete Danish pastry making requires 6-8 hours, including rise times and essential chilling periods between lamination folds.
Q: Can I make Danish pastry dough in advance? A: Absolutely! Laminated dough keeps beautifully in the refrigerator for up to three days or frozen for three months.
Q: Why did my Danish pastries turn out dense? A: Dense results typically indicate butter that was too warm during lamination, insufficient folding, or over-proofing before baking.
Transform your kitchen into a professional patisserie today. Gather these simple ingredients, embrace the methodical process, and discover the incredible satisfaction of creating bakery-quality Danish pastries in your own home. Your family and friends will be amazed by your newfound pastry mastery—and you’ll never settle for store-bought Danish again!