
Master the Art of Homemade Croissant: Your Complete Guide to Bakery-Quality Pastries at Home
Picture yourself stepping into your kitchen on a tranquil Sunday morning, enveloped by the heavenly scent of freshly baked croissants—those golden, buttery crescents that transport you straight to a Parisian café. The deep satisfaction of crafting these delicate pastries with your own hands creates an unmatched sense of accomplishment. While many home bakers assume that creating the perfect croissant requires professional training, you’ll discover that with proper technique, patience, and this comprehensive guide, you can achieve bakery-quality results right in your own kitchen.
Table of Contents
Understanding the Foundation of Perfect Croissants
Creating exceptional croissants begins with grasping the fundamental science behind these beloved pastries. The magic happens through lamination—a technique where you systematically fold butter into dough, creating hundreds of delicate layers. Each fold multiplies these layers exponentially, resulting in the characteristic flaky texture that makes croissants irresistible.
Temperature control serves as your most critical ally throughout this process. Your butter needs to maintain the perfect consistency—pliable enough to roll without breaking, yet firm enough to create distinct layers. When temperatures align properly, you’ll achieve that coveted honeycomb interior structure that separates exceptional croissants from dense, disappointing attempts.
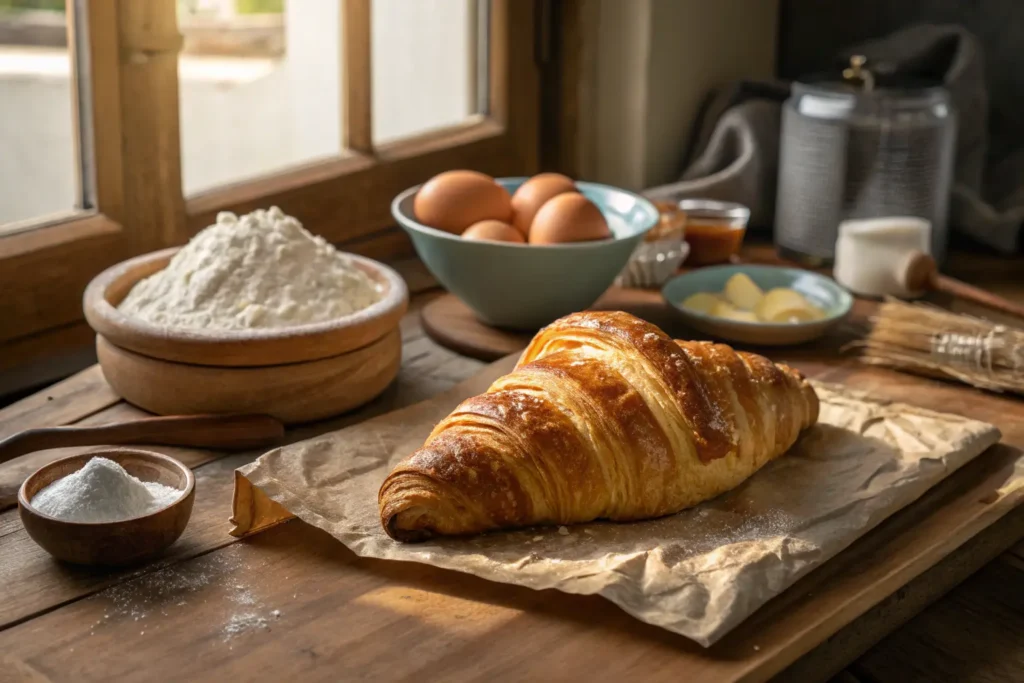
Essential Ingredients for Croissant Success
Your ingredient selection directly impacts your final results. Here’s what you’ll need for twelve magnificent croissants:
| Ingredient | Quantity | Purpose |
|---|---|---|
| Bread Flour | 500g (4 cups) | Provides gluten structure |
| Unsalted Butter | 350g (1.5 cups) | Creates flaky layers |
| Whole Milk | 240ml (1 cup) | Adds richness and hydration |
| Active Dry Yeast | 7g (2¼ tsp) | Provides leavening power |
| Sugar | 50g (¼ cup) | Feeds yeast and aids browning |
| Salt | 10g (2 tsp) | Enhances flavor and gluten |
| Egg | 1 large | Creates golden egg wash |
Quality matters tremendously when selecting your ingredients. Choose bread flour with 12-14% protein content for optimal gluten development. European-style butter works best due to its higher fat content and lower water percentage, which prevents layer separation during lamination.
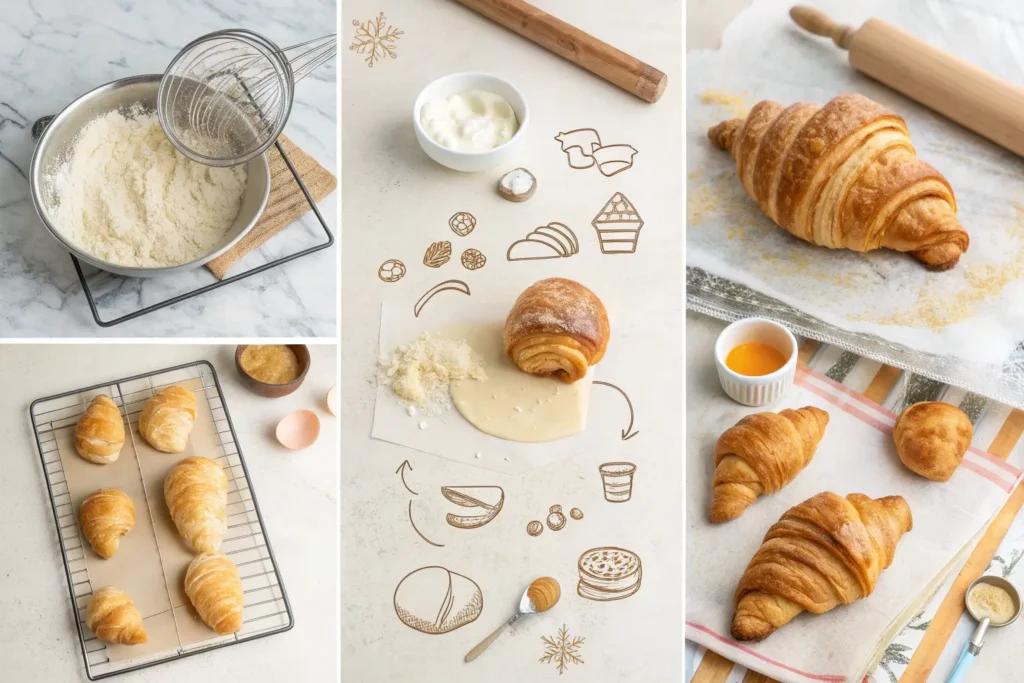
Step-by-Step Croissant Creation Process
Day One: Building Your Foundation
Begin your croissant journey by creating the base dough. Warm your milk to approximately 100°F and dissolve the yeast, allowing it to bloom for five minutes until foamy. This step confirms your yeast’s vitality and ensures proper fermentation.
Combine your flour, sugar, and salt in a large mixing bowl. Create a well in the center and pour in your activated yeast mixture. Mix gently until ingredients just come together—resist the urge to overwork the dough at this stage. Cover and allow the dough to rise for one hour at room temperature before refrigerating overnight.
Day Two: The Lamination Magic
Remove your chilled dough and prepare your butter block. Your butter should feel similar to the dough’s consistency—cool but pliable. Shape it into a rectangle roughly half the size of your rolled dough.
Roll your dough into a rectangle twice the length of your butter block. Place the butter in the center and fold the dough over like an envelope. This marks your first fold, called a letter fold.
The Three-Fold Process:
- First fold: Envelope the butter completely
- Chill for 30 minutes: This prevents butter from melting
- Second fold: Roll and fold again, creating more layers
- Another 30-minute rest: Maintains proper temperature
- Final fold: Complete the lamination process
- Two-hour final rest: Allows gluten to relax
Shaping Your Croissants
Roll your laminated dough to approximately ¼-inch thickness. Cut triangles with a 4-inch base and 6-inch height. Starting from the wide end, roll each triangle toward the point, tucking the tip underneath slightly.
Place your shaped croissants on parchment-lined baking sheets, ensuring adequate space between each pastry. Cover with a clean kitchen towel and proof at room temperature for 2-3 hours until they’ve increased by roughly 50% in size.
Professional Tips for Croissant Excellence
Temperature management remains your greatest challenge and most powerful tool. Your kitchen environment significantly affects timing—warmer rooms accelerate proofing, while cooler spaces slow the process. Adjust accordingly to maintain control over your schedule.
Common Pitfalls to Sidestep:
- Butter breaking through dough during rolling
- Over-proofing, which creates dense texture
- Insufficient lamination resulting in poor layer definition
- Rushing the process and compromising structure
Watch for visual cues during proofing. Properly developed croissants appear puffy and jiggle slightly when gently moved. Under-proofed pastries feel dense and heavy, while over-proofed ones lose their shape and appear deflated.
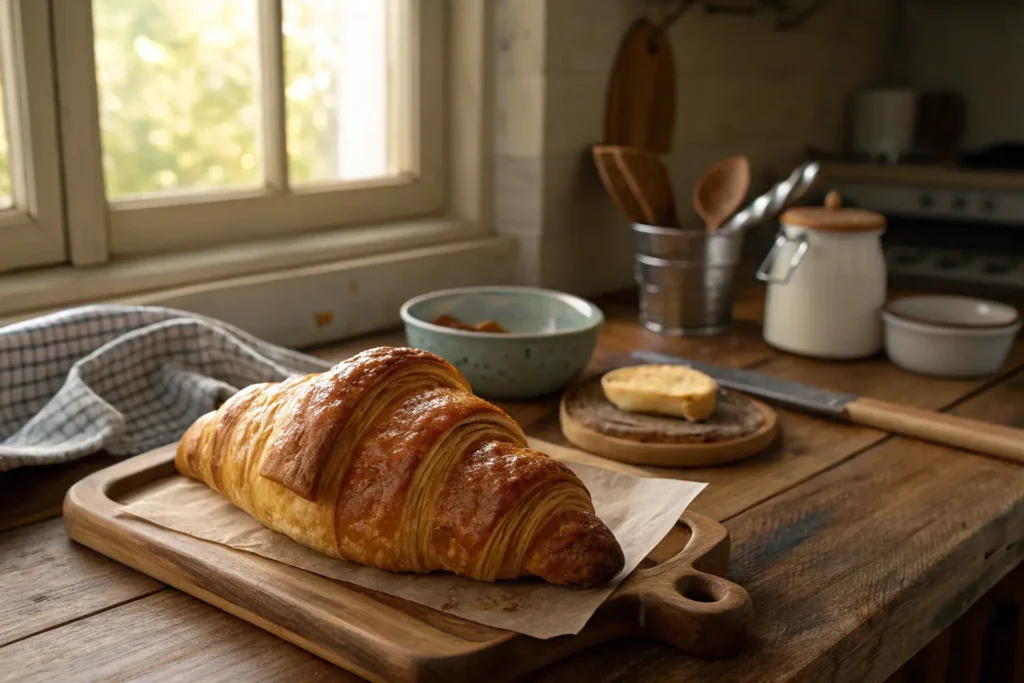
Baking to Golden Perfection
Preheat your oven to 400°F (200°C) while your croissants complete their final proofing stage. Brush each pastry with beaten egg wash, ensuring complete coverage for that gorgeous golden color.
Create steam during the initial baking phase by placing a pan of hot water on the oven’s bottom rack. This steam helps achieve maximum oven spring and contributes to the crispy exterior texture.
Bake for 15-18 minutes until deep golden brown. Your croissants should sound hollow when tapped on the bottom—this indicates proper doneness throughout the interior.
Troubleshooting Your Croissant Journey
Dense results typically stem from overworked dough or inactive yeast. Always verify your yeast’s freshness before beginning, and handle dough gently throughout the process.
Butter leakage during lamination indicates temperature mismatches between butter and dough. Both components should feel similarly cool and pliable for successful integration.
Poor layer definition suggests insufficient folding or improper technique. Each fold should create clear, distinct layers visible when you cut through the finished pastry.
Storage and Serving Excellence
Fresh croissants taste best within hours of baking, but you can store them at room temperature for up to three days in an airtight container. Reheat briefly in a 350°F oven to restore crispiness.
Freezing Options:
- Freeze shaped, unproofed croissants for up to one month
- Thaw overnight in refrigerator, then proof as normal
- Freeze baked croissants for quick future enjoyment
Your Croissant Adventure Begins Now
Mastering homemade croissants represents a significant culinary achievement that rewards patience with extraordinary results. While the process demands time and attention, each step teaches valuable lessons about pastry science and technique development.
Remember that professional bakers refined their skills through countless practice sessions. Your first batch might not achieve perfection, but each attempt builds knowledge and confidence. Embrace the learning process and celebrate small victories along your journey.
The satisfaction of serving warm, flaky croissants made entirely by your hands creates memories that last far beyond the final bite. These golden pastries become conversation starters, weekend traditions, and sources of genuine pride in your growing culinary abilities.
Ready to begin your croissant-making adventure? Gather your ingredients, clear your schedule for this rewarding two-day process, and prepare to transform simple components into extraordinary pastries. Share your results with friends and family—they’ll be amazed by your newfound pastry skills, and you’ll discover the joy that comes from mastering one of baking’s most challenging yet rewarding techniques.