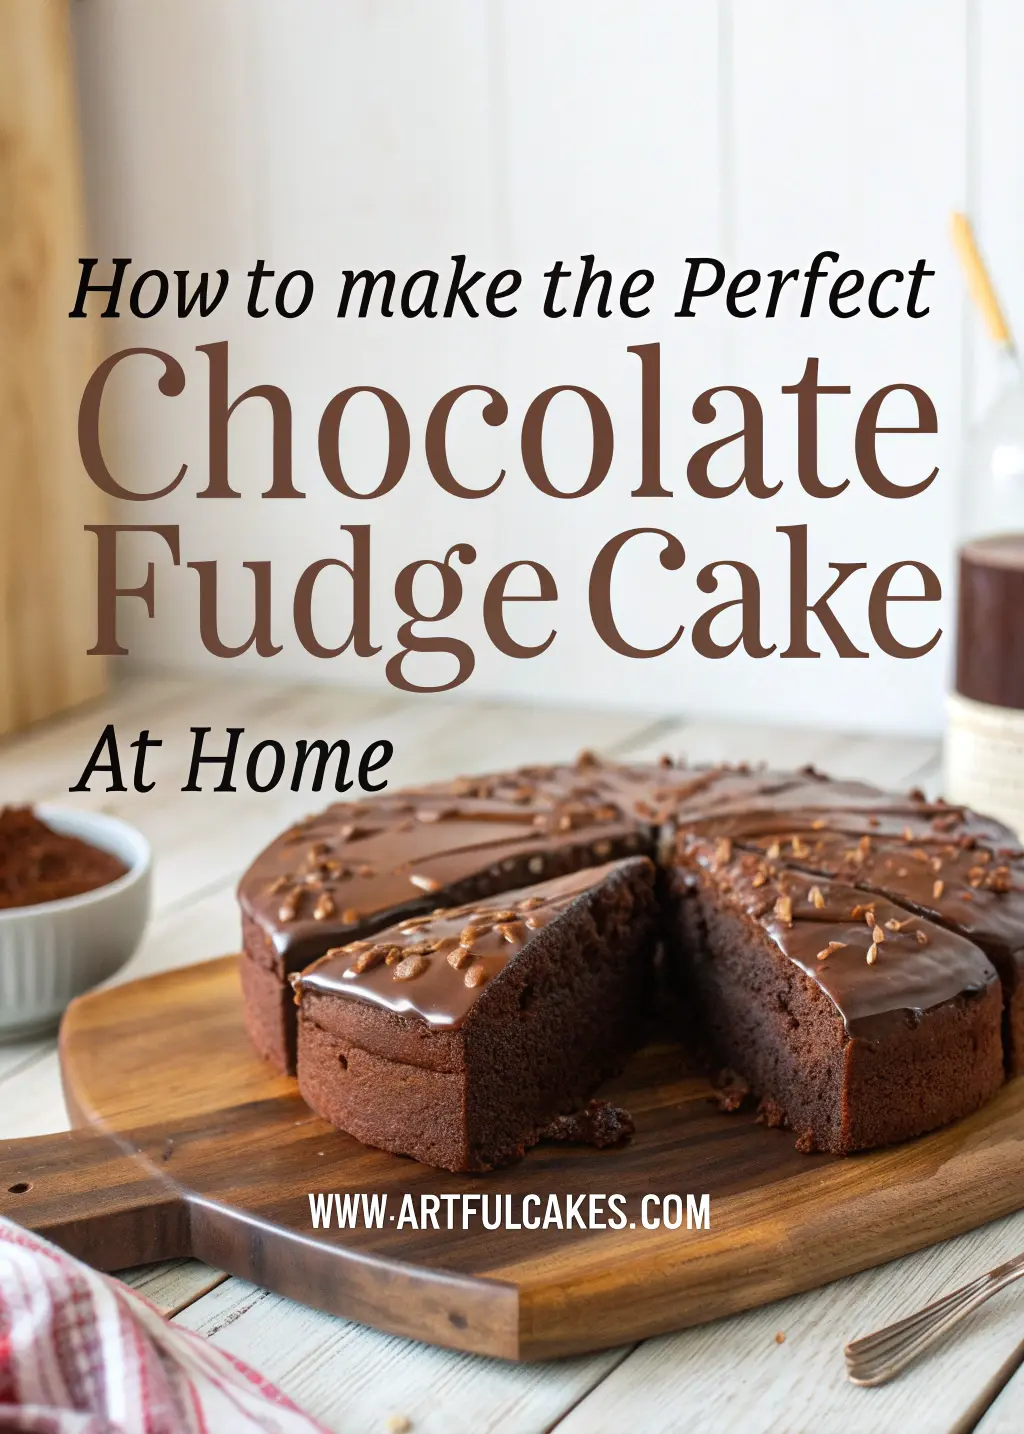
The Ultimate Chocolate Fudge Cake Recipe: How to Make Decadent Homemade Perfection
There’s something absolutely magical about slicing into a perfect chocolate fudge cake—watching the knife glide through layers of rich, dense chocolate that practically melts before it reaches your fork. Maybe you’re remembering that incredible birthday cake from your favorite bakery, or perhaps you’re imagining the look of pure delight on your loved ones’ faces when you present them with homemade chocolate perfection.
Creating an authentic chocolate fudge cake at home isn’t just about following a recipe; it’s about understanding the delicate chemistry that transforms simple ingredients into an indulgent masterpiece. When you master these techniques, you’ll never need to rely on store-bought alternatives again.
Table of Contents
Understanding What Makes Chocolate Fudge Cake Special
Your perfect chocolate fudge cake should possess a distinctly dense, moist texture that sets it apart from regular chocolate cake. While standard chocolate cakes rely on air incorporation for lightness, fudge cake embraces richness and weight, creating an intensely chocolatey experience with every bite.
The secret lies in the higher ratio of chocolate to flour, increased fat content, and specific mixing techniques that preserve moisture while building structure. This combination results in that signature fudgy texture that literally melts on your tongue.
Essential Ingredients for Ultimate Chocolate Fudge Cake
Your ingredient selection directly impacts your final result, so choosing quality components makes a noticeable difference:
| Ingredient | Quantity | Purpose |
|---|---|---|
| Dark Chocolate (70% cocoa) | 200g | Rich flavor foundation |
| Unsalted Butter | 175g | Moisture and richness |
| Light Brown Sugar | 200g | Sweetness with molasses notes |
| Large Eggs | 3 (room temperature) | Structure and binding |
| Plain Flour | 175g | Base framework |
| Cocoa Powder | 25g | Intense chocolate depth |
| Hot Coffee | 150ml | Chocolate flavor enhancer |
| Vanilla Extract | 2 tsp | Flavor complexity |
Why These Specific Ingredients Matter
Room temperature eggs blend more easily, creating smoother batter consistency. Dark chocolate with 70% cocoa content provides the perfect balance between sweetness and intensity—anything lower lacks depth, while higher percentages can create bitterness.
The hot coffee might surprise you, but it doesn’t add coffee flavor. Instead, it amplifies the chocolate taste through chemical reactions that enhance cocoa compounds. If you prefer avoiding caffeine, hot water works as a substitute, though you’ll sacrifice some flavor complexity.
Your Step-by-Step Method for Perfect Results
Preparation Phase
Begin by preheating your oven to 180°C (160°C fan-assisted). Thoroughly grease two 9-inch round cake pans, then dust with cocoa powder instead of flour—this prevents white residue on your finished cake while adding extra chocolate notes.
Prepare your coffee and set it aside to cool slightly. Room temperature ingredients mix more effectively, so remove your eggs from refrigeration about an hour before baking.
The Chocolate Melting Process
Chop your chocolate into uniform pieces for even melting. Using a double boiler method, place chocolate and butter in a heatproof bowl over barely simmering water. Stir gently until the mixture becomes smooth and glossy.
Critical tip: Never let water touch the chocolate directly, as even tiny droplets can cause seizing. If your chocolate becomes grainy, try whisking in a tablespoon of warm cream to restore smoothness.
Creating the Perfect Batter
Beat your brown sugar and eggs together for approximately five minutes until the mixture becomes pale and slightly thickened. This step incorporates air while dissolving sugar crystals completely.
Gradually blend in your melted chocolate mixture, followed by vanilla extract. The batter should appear smooth and glossy at this stage.
In a separate bowl, sift together flour, cocoa powder, baking powder, and salt. Add these dry ingredients to your chocolate mixture in three additions, alternating with the hot coffee. Begin and end with flour mixture, mixing just until each addition disappears.
Crucial mixing rule: Stop immediately when you no longer see flour streaks. Overmixing develops gluten, creating tough texture instead of tender fudginess.
Baking to Fudgy Perfection
Divide your batter evenly between prepared pans. Bake for 35-40 minutes—your cake is ready when a toothpick inserted in the center emerges with a few moist crumbs clinging to it.
Unlike regular cakes, chocolate fudge cake should remain slightly underbaked in the center. This creates that signature dense, fudgy texture you’re seeking.
Cool in pans for exactly ten minutes, then turn out onto wire racks. Complete cooling prevents frosting from melting but requires patience—warm cake layers will create messy results.
Troubleshooting Common Issues
Dense, heavy texture? You likely overmixed after adding flour or used cold ingredients. Remember: gentle folding motions and room temperature components are essential.
Dry, crumbly results? Overbaking is the usual culprit. Chocolate fudge cake continues cooking from residual heat after removal from the oven, so slightly underbaking prevents dryness.
Sunken center? Check your oven temperature with a separate thermometer—many ovens run hot or cold. Also ensure your baking powder is fresh, as expired leavening agents lose effectiveness.
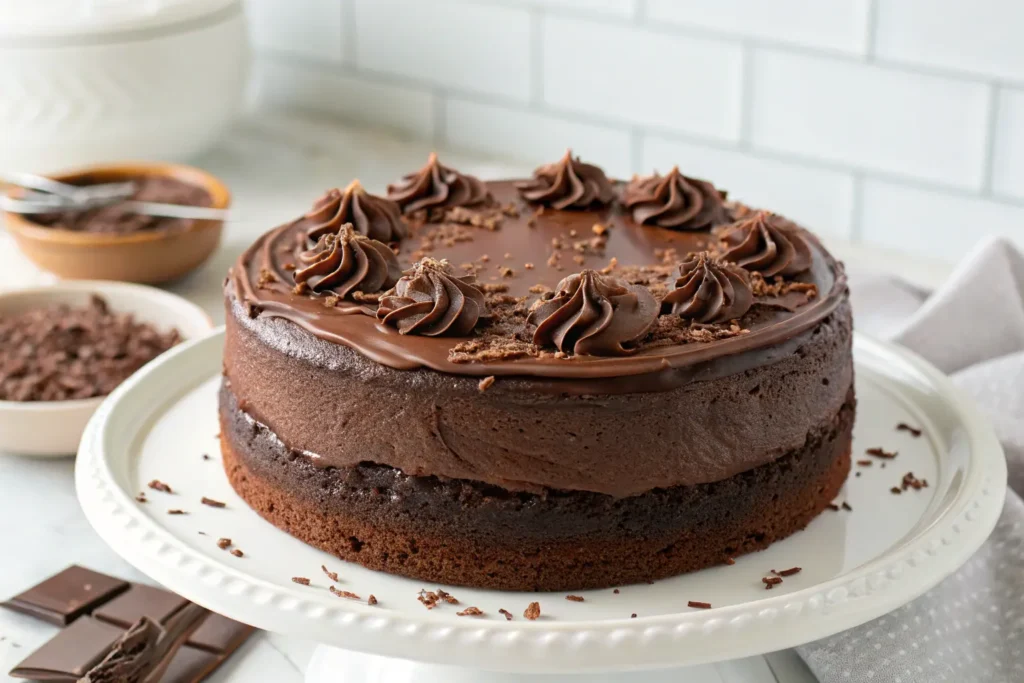
Frosting Options That Complement Your Creation
Classic chocolate buttercream perfectly complements your fudge cake’s richness. Cream together softened butter with powdered sugar, cocoa powder, and enough heavy cream to achieve spreading consistency.
For extra decadence, consider chocolate ganache made from equal parts heavy cream and chopped chocolate. Heat cream until steaming, pour over chocolate, and whisk until glossy.
Storage and Serving Suggestions
Your finished chocolate fudge cake actually improves after resting overnight, allowing flavors to meld and moisture to distribute evenly. Store covered at room temperature for up to four days, or refrigerate for extended freshness.
Serve at room temperature for optimal texture and flavor. Cold cake masks the chocolate intensity and creates firmer texture than intended.
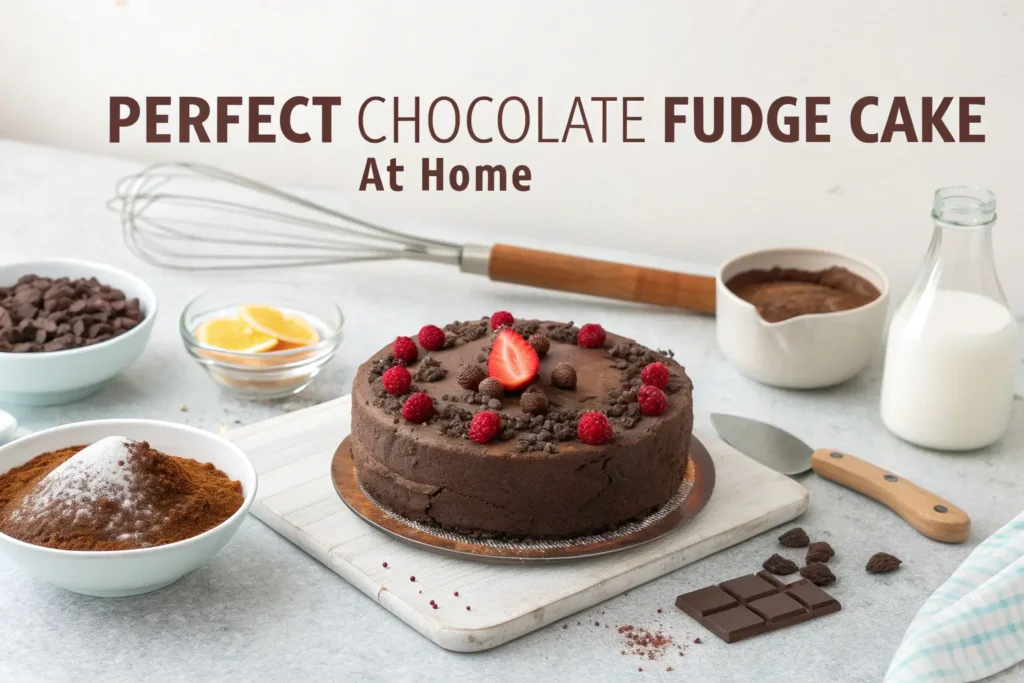
Consider these presentation ideas:
- Dust with powdered sugar for elegant simplicity
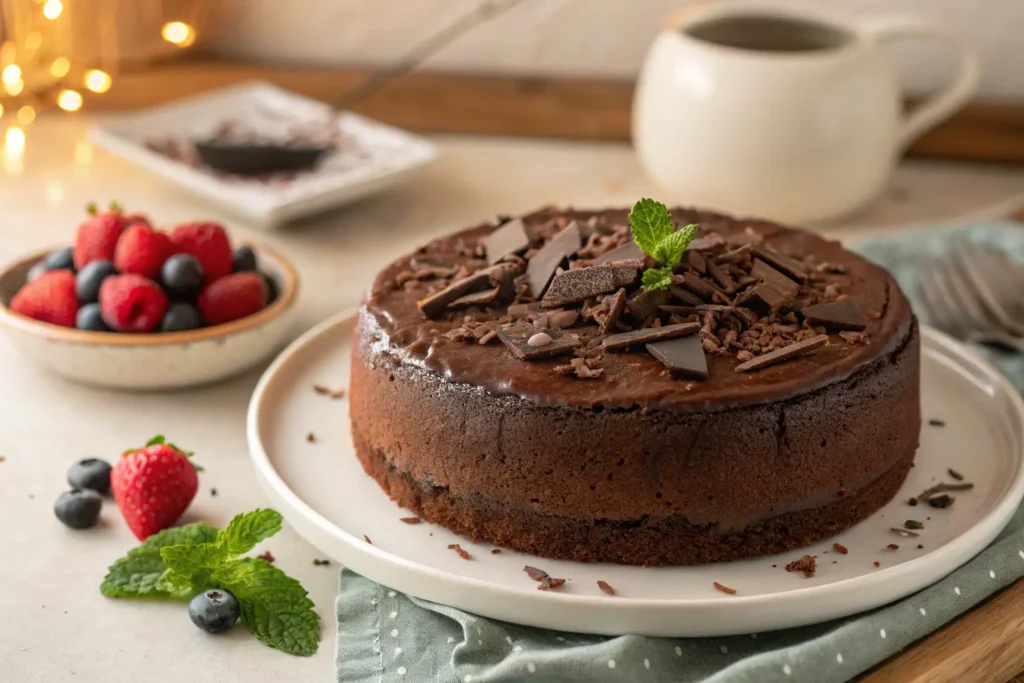
- Garnish with fresh berries for color contrast
- Drizzle with caramel sauce for added indulgence
- Serve alongside vanilla ice cream for temperature contrast
Frequently Asked Questions About Chocolate Fudge Cake
Can I make this chocolate fudge cake without coffee? Absolutely—substitute with hot water, though you’ll lose some flavor depth. Hot chocolate or warm milk also work as alternatives.
Why is my chocolate fudge cake too dense? Overmixing after flour addition typically causes excessive density. Mix just until ingredients combine, using gentle folding motions rather than vigorous stirring.
How do I know when my chocolate fudge cake is perfectly baked? Look for edges that pull slightly from pan sides and a toothpick test showing moist crumbs (not wet batter) clinging to it.
Your Next Steps to Chocolate Success
Now you possess the knowledge and techniques necessary for creating bakery-quality chocolate fudge cake in your own kitchen. This recipe becomes your foundation for countless variations—add espresso for mocha flavor, incorporate orange zest for citrus notes, or layer with salted caramel for gourmet appeal.
Remember that mastery develops through practice. Your first attempt might not achieve perfection, but each cake teaches valuable lessons about your oven’s characteristics and your developing skills.
Ready to create chocolate magic? Gather your ingredients, clear your schedule for an afternoon of baking, and prepare to fill your kitchen with the irresistible aroma of homemade chocolate fudge cake. Share your results and any questions in the comments below—fellow chocolate enthusiasts love celebrating successes and offering helpful advice for overcoming challenges.
The satisfaction of creating this indulgent dessert from scratch, watching faces light up with that first bite, makes every moment of preparation absolutely worthwhile.