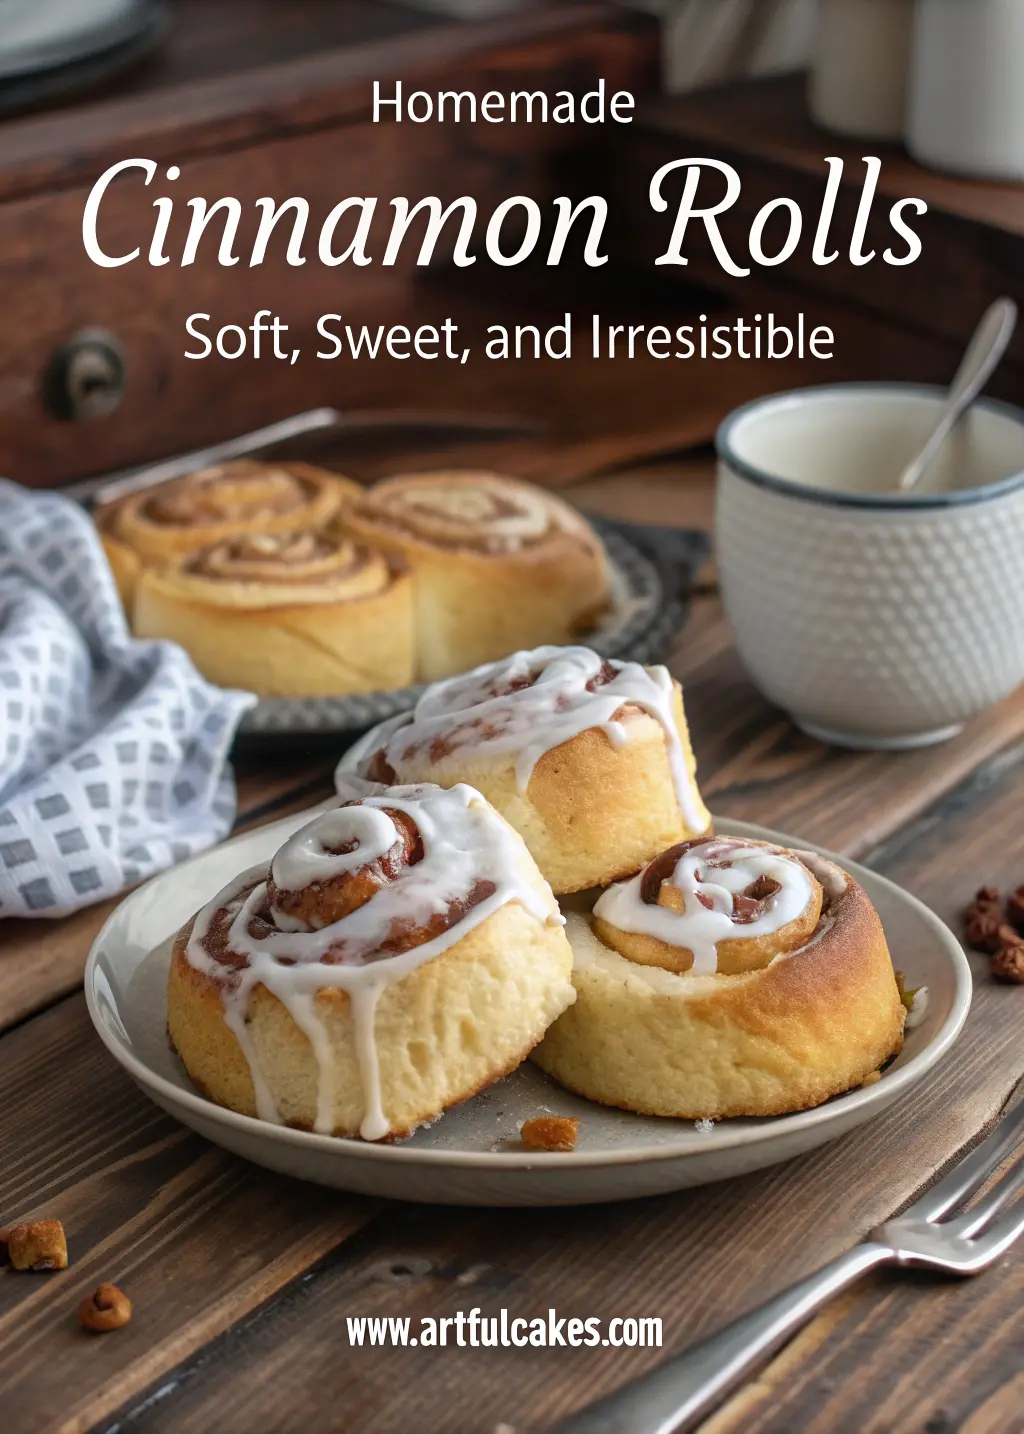
The Ultimate Guide to Homemade Cinnamon Rolls: Soft, Sweet, and Irresistibly Delicious
Picture stepping into your kitchen on a crisp Saturday morning, where golden sunlight streams through windows and anticipation fills the air. The intoxicating fragrance of freshly baked cinnamon rolls transforms your space into something magical – a sanctuary where flour becomes comfort and sugar creates memories.
These aren’t merely pastries; they’re edible expressions of care that bridge generations. Perhaps your grandmother once rolled similar dough with weathered hands, or maybe you’re creating entirely new traditions for your own family. Regardless of your baking background, mastering homemade cinnamon rolls opens doors to countless joyful moments and satisfied smiles around your table.
Table of Contents
Why Your Kitchen Deserves Homemade Cinnamon Rolls
Store-bought alternatives pale beside what emerges from your own oven. When you control every ingredient, you guarantee freshness while eliminating preservatives and artificial additives. Your homemade creations cost significantly less than bakery prices, typically running under two dollars per batch versus eight to twelve dollars for comparable store-bought options.
Beyond economics lies the therapeutic value of kneading dough and watching yeast work its ancient magic. Baking connects you to fundamental processes that have nourished families for centuries, providing stress relief through repetitive motions and creative expression through flavor combinations.
Essential Ingredients for Perfect Results
Foundation Components
Your dough requires precise ingredients working in harmony:
| Ingredient | Quantity | Purpose |
|---|---|---|
| All-purpose flour | 4 cups | Structure and texture |
| Active dry yeast | 2¼ teaspoons | Leavening power |
| Warm milk | 1 cup | Moisture and richness |
| Granulated sugar | ¼ cup | Yeast nourishment |
| Softened butter | 4 tablespoons | Tenderness |
| Large egg | 1 | Binding agent |
| Salt | 1 teaspoon | Flavor enhancement |
Sweet Filling Essentials
| Component | Amount | Role |
|---|---|---|
| Brown sugar | ¾ cup | Caramel sweetness |
| Ground cinnamon | 2 tablespoons | Signature warmth |
| Softened butter | 6 tablespoons | Moisture carrier |
| Vanilla extract | 1 teaspoon | Depth enhancement |
Step-by-Step Creation Process
Preparing Your Dough Foundation
Begin by warming milk to precisely 105-110°F – hot enough to activate yeast without destroying these living organisms. Sprinkle yeast over warm milk, add one teaspoon of sugar, then wait five minutes until foamy bubbles appear. This crucial step confirms your yeast remains viable.
Combine flour and remaining sugar in a large mixing bowl, creating a well in the center. Pour activated yeast mixture, beaten egg, melted butter, and salt into this depression. Using wooden spoons or clean hands, gradually incorporate flour until shaggy dough forms.
Transfer dough onto lightly floured surfaces for kneading. Push away with heel of your hand, fold back over itself, rotate quarter-turn, then repeat. Continue eight to ten minutes until dough becomes smooth and elastic. Properly developed dough should stretch thin enough to see light through without tearing – the famous windowpane test.
First Rise Optimization
Place kneaded dough in greased bowls, turning once to coat all surfaces. Cover with damp kitchen towels and position in warm, draft-free locations. Ideal rising temperatures range between 75-80°F. Your dough should double in size within 60-90 minutes, depending on ambient conditions.
Rolling and Filling Techniques
Punch down risen dough to release built-up gases, then roll into 15×10-inch rectangles on floured surfaces. Maintain even thickness throughout – approximately half-inch depth works perfectly.
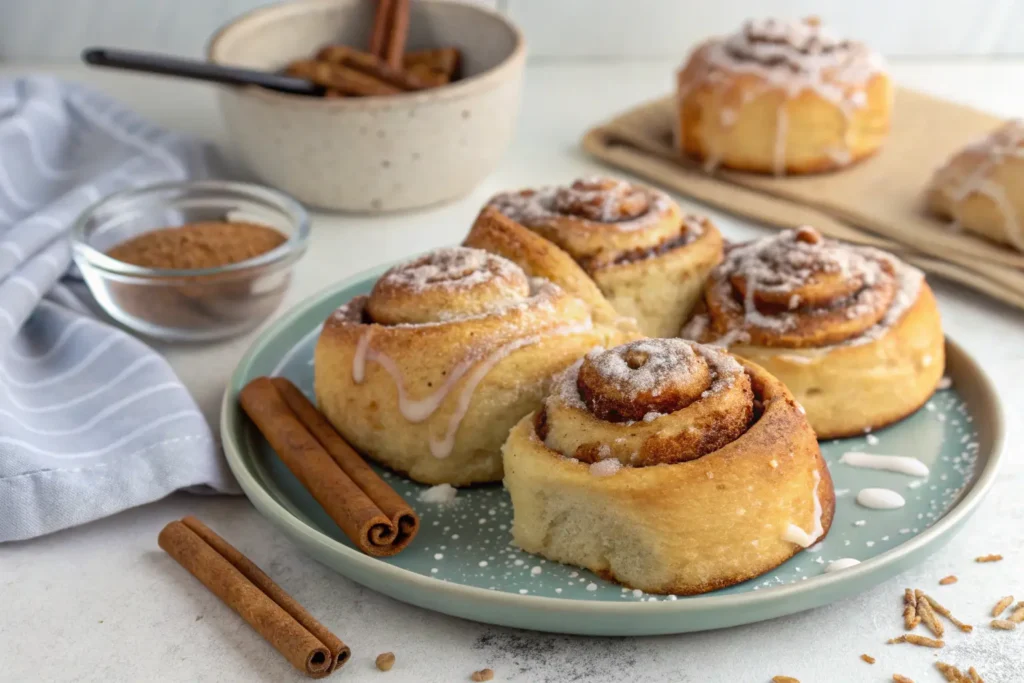
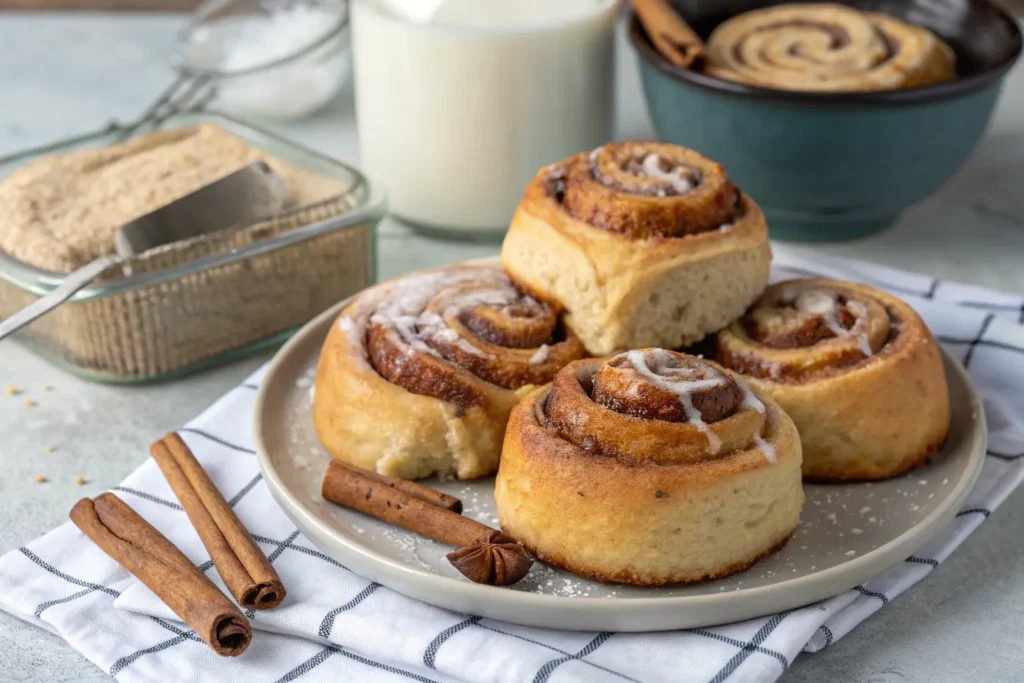
Spread softened butter evenly across dough surfaces, leaving half-inch borders along edges. Combine brown sugar and cinnamon in small bowls, then sprinkle uniformly over buttered areas. The key lies in consistent distribution; uneven filling creates lopsided rolls with disappointing flavor pockets.
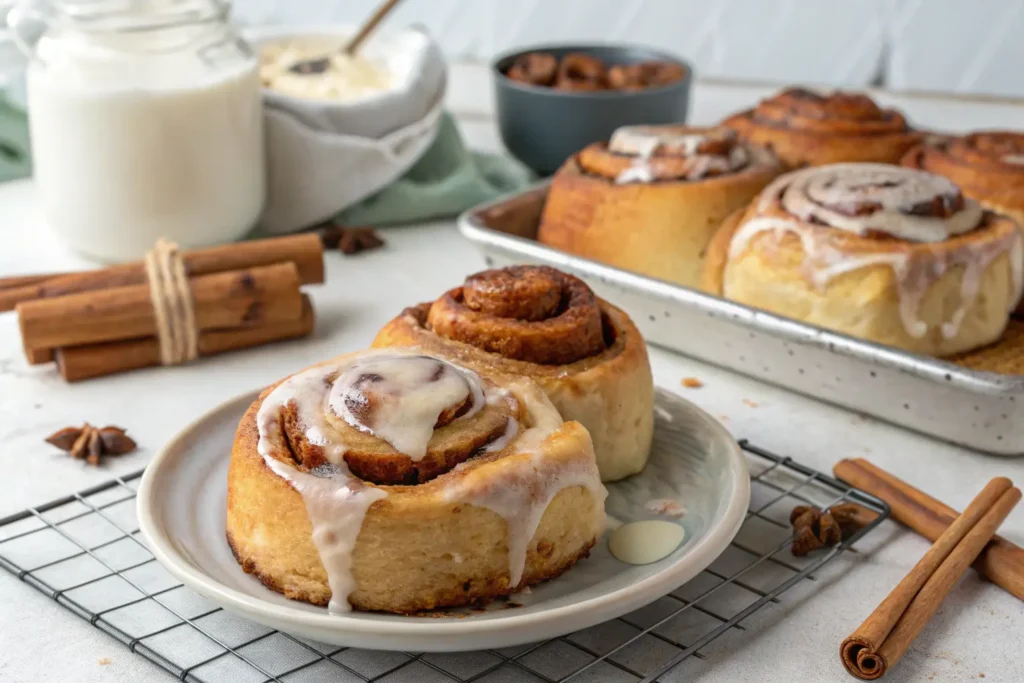
Starting from longer edges, roll tightly while maintaining steady pressure. Seal seams by pinching dough edges together. Using sharp knives or unflavored dental floss, slice into twelve equal portions. Floss prevents compression that knives sometimes cause, preserving your carefully crafted spirals.
Advanced Tips for Bakery-Quality Results
Texture Enhancement Secrets
Professional bakers often employ tangzhong methods – cooking small portions of flour with liquid to create gel-like pastes. This technique increases moisture retention, producing exceptionally tender results. Simply combine two tablespoons flour with half-cup milk, cook while stirring until thickened, then cool before incorporating into regular dough ingredients.
Make-Ahead Strategies
Your busy schedule needn’t prevent fresh cinnamon rolls. After shaping, arrange unbaked rolls in prepared pans, cover tightly with plastic wrap, then refrigerate overnight. Cold temperatures slow yeast activity without stopping it entirely, developing complex flavors while fitting your timeline.
For longer storage, freeze shaped rolls up to three months. When ready to bake, thaw overnight in refrigerators, allow final rise at room temperature, then bake as usual.
Troubleshooting Common Challenges
Dense, heavy rolls typically result from inactive yeast, excessive flour, or insufficient rising time. Always proof yeast before proceeding, measure flour by spooning into cups rather than scooping, and trust the process even when dough seems slow to rise.
Filling leakage occurs when seams aren’t properly sealed or filling extends too close to edges. Leave adequate borders and pinch seams firmly to contain your sweet mixture.
Uneven baking suggests hot spots in your oven or incorrect rack positioning. Rotate pans halfway through baking and use oven thermometers to verify accuracy of temperature controls.
Nutritional Considerations and Modifications
Standard cinnamon rolls contain approximately 285 calories each, with moderate amounts of protein and fiber. For dietary restrictions, substitute gluten-free flour blends, plant-based milk alternatives, or sugar substitutes while expecting slight texture variations.
Reducing sugar content by twenty-five percent rarely affects texture significantly, while increasing cinnamon compensates for diminished sweetness. Whole wheat flour substitutions work best when replacing only half the all-purpose flour to maintain tenderness.
Perfect Storage and Reheating Methods
Fresh rolls maintain optimal quality for two days at room temperature when properly covered. Refrigeration extends storage to one week, while freezing preserves quality up to three months.
Reheating requires gentle approaches to restore moisture without creating toughness. Wrap individual rolls in damp paper towels before microwaving fifteen to twenty seconds, or refresh entire batches in 350°F ovens for five to seven minutes.
Transform Your Morning Routine Today
Your journey toward cinnamon roll mastery begins with single batches and grows through experimentation and practice. Each attempt teaches valuable lessons about dough behavior, timing adjustments, and personal preferences that no written recipe can fully convey.
These aromatic treasures represent more than weekend treats – they become centerpieces for celebration, comfort during difficult times, and bridges connecting past traditions with future memories. Whether you’re feeding hungry teenagers, impressing weekend guests, or simply treating yourself to homemade luxury, perfect cinnamon rolls await your creative touch.
Ready to fill your home with irresistible aromas and create lasting memories? Gather your ingredients, clear your weekend morning, and embark on this delicious adventure. Your family will thank you, your kitchen will smell divine, and you’ll discover the profound satisfaction that comes from creating something beautiful with your own hands. Start your first batch today – your perfect cinnamon roll story begins now.