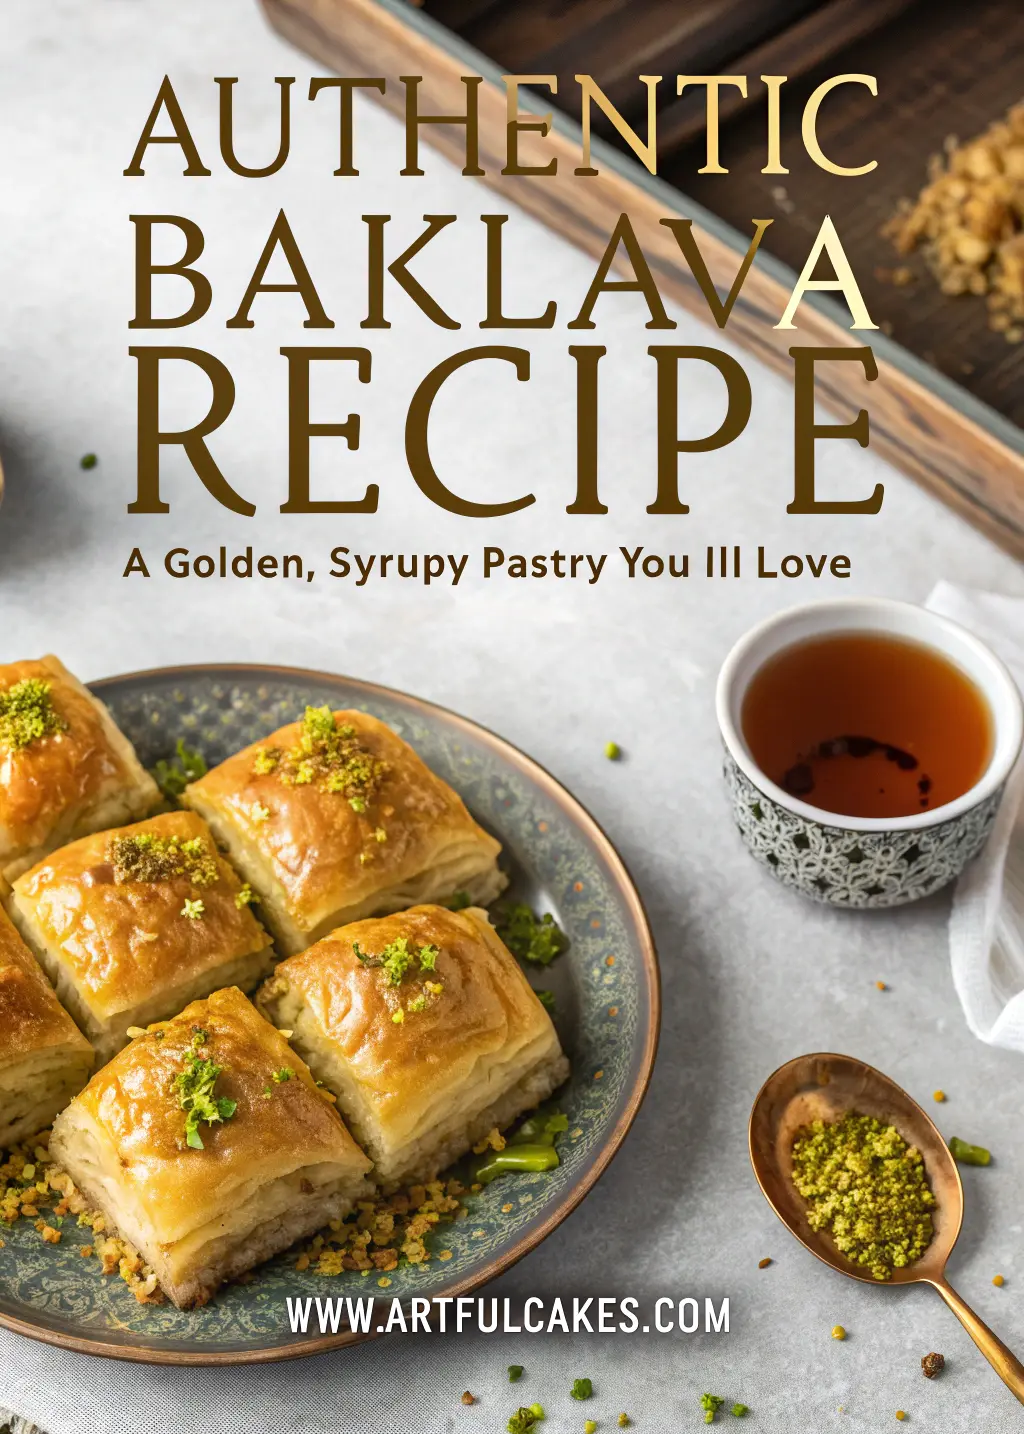
Authentic Baklava Recipe: A Golden, Syrupy Pastry You’ll Love
Picture yourself transported to a bustling Mediterranean kitchen where the scent of cinnamon mingles with golden honey. Your hands work methodically, layering delicate phyllo sheets while memories of family gatherings dance through your mind. This isn’t just dessert preparation—it’s culinary poetry in motion, connecting you to centuries of tradition through each buttery, flaky layer.
Creating authentic baklava at home transforms your kitchen into a sanctuary of sweet aromas and satisfied smiles. When you master this time-honored recipe, you’re not merely following instructions; you’re participating in a cultural legacy that spans generations.
Table of Contents
What Makes Baklava So Special?
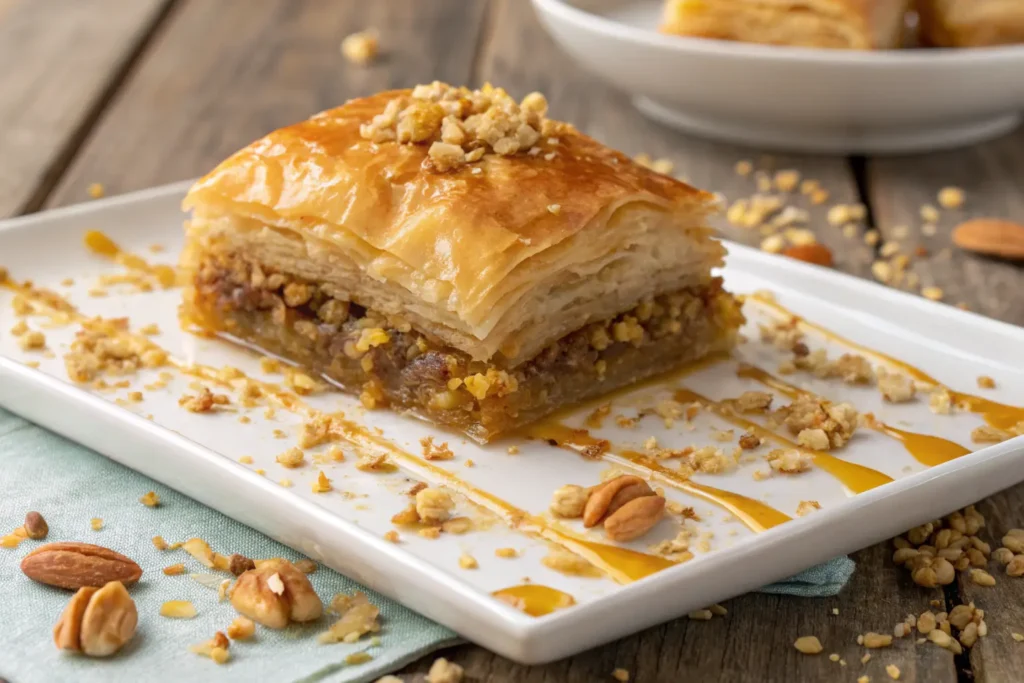
Your journey into Mediterranean dessert mastery begins with understanding what elevates baklava beyond ordinary pastries. This golden treasure combines three essential elements: paper-thin phyllo dough, aromatic nut fillings, and luscious honey syrup. Each component contributes to a symphony of textures that creates an unforgettable eating experience.
The magic happens when crispy, buttery layers meet crunchy nuts and sweet, sticky syrup. Your taste buds encounter multiple sensations simultaneously—the satisfying crunch gives way to smooth, honeyed sweetness while fragrant spices awaken your senses.
Essential Ingredients for Perfect Baklava
Success in baklava creation depends entirely on ingredient quality. Your shopping list should prioritize freshness and authenticity over convenience.
Key Components You’ll Need:
For the Phyllo Layers:
- 1 pound frozen phyllo dough (completely thawed)
- 1 cup unsalted butter, melted
For the Nut Filling:
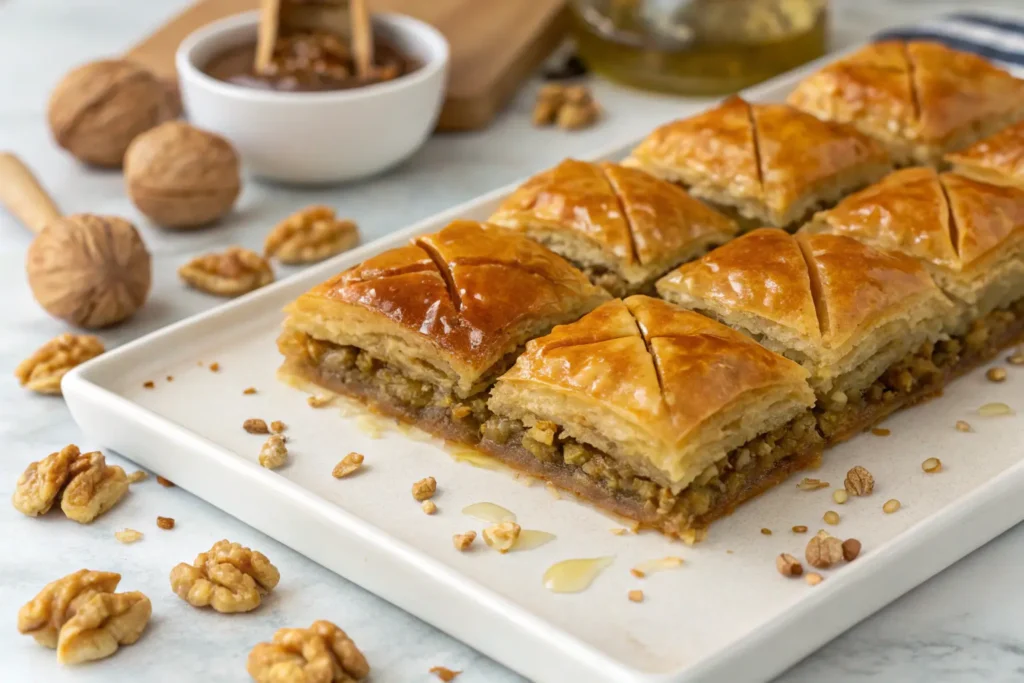
- 2 cups finely chopped walnuts
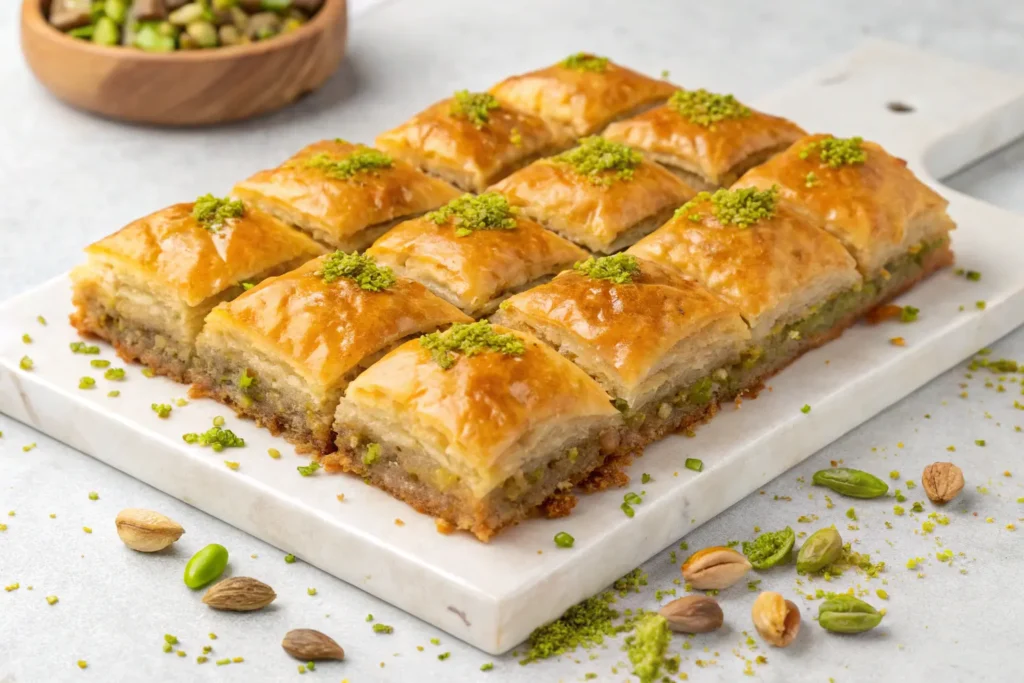
- 1 cup chopped pistachios (optional but recommended)
- 1 teaspoon ground cinnamon
- 2 tablespoons granulated sugar
For the Honey Syrup:
- 1 cup pure honey
- 1 cup water
- 1 cup sugar
- 2 tablespoons fresh lemon juice
- 1 teaspoon vanilla extract
Your phyllo selection significantly impacts final results. Frozen varieties work excellently when properly thawed overnight in the refrigerator. Avoid rushed thawing methods that create condensation, leading to soggy, unusable sheets.
Step-by-Step Baklava Creation Process
Preparing Your Honey Syrup
Begin by crafting your syrup foundation. Combine water, sugar, and honey in a medium saucepan. Bring this mixture to a rolling boil, then reduce heat and simmer for exactly ten minutes. Remove from heat and stir in lemon juice and vanilla extract. Set aside to cool completely—this temperature contrast becomes crucial later.
Assembling Your Baklava Masterpiece
Preheat your oven to 350°F (175°C). Brush a 9×13-inch baking pan generously with melted butter.
Layer Building Process:
- Foundation Layers: Place eight phyllo sheets in your prepared pan, brushing each sheet thoroughly with melted butter. Don’t worry about minor tears—they’ll disappear during baking.
- First Nut Layer: Sprinkle one-third of your nut mixture evenly across the surface. This even distribution ensures every bite contains perfect nut-to-pastry ratios.
- Middle Construction: Add four more phyllo sheets, buttering each layer completely. Apply another third of your nut mixture.
- Final Assembly: Repeat the phyllo and nut layering process, finishing with eight final phyllo sheets. Brush the top layer extra generously with remaining butter.
- Pre-Baking Preparation: Using a sharp knife, score your baklava into diamond or square patterns. Cut completely through all layers—this prevents cracking during baking and ensures clean serving portions.
Baking to Golden Perfection
Place your prepared baklava in the preheated oven. Bake for 45-50 minutes until the top achieves a beautiful golden-brown color. The phyllo should sound crispy when lightly tapped, and the edges will appear slightly darker than the center.
The Secret to Restaurant-Quality Results
Your syrup application technique determines whether you achieve professional-level results or disappointing sogginess. The cardinal rule: hot baklava meets cool syrup, never the reverse.
Immediately after removing your baklava from the oven, slowly pour the cooled syrup over the entire surface. You’ll hear delightful sizzling sounds as the syrup penetrates each layer. The liquid should absorb gradually—if it pools on top, you’ve applied too much too quickly.
Allow your creation to rest for at least four hours, though overnight resting produces superior results. This patience allows complete syrup absorption and flavor melding.
Expert Tips for Baklava Success
Avoiding Common Pitfalls:
- Phyllo Handling: Keep unused sheets covered with a slightly damp towel to prevent drying and cracking.
- Butter Temperature: Melted butter should be warm, not hot, to prevent phyllo tearing.
- Nut Preparation: Finely chopped nuts distribute more evenly than coarse pieces.
- Scoring Importance: Pre-baking cuts prevent messy breaking later.
Storage and Serving Guidelines:
Your finished baklava stays fresh at room temperature for up to one week when properly covered. Refrigeration isn’t necessary and may actually compromise texture. For longer storage, freeze individual portions for up to three months.
Serve at room temperature for optimal flavor and texture. Each piece should reveal distinct layers with nuts visible throughout.
Frequently Asked Questions About Baklava
How long does homemade baklava last? Properly stored baklava maintains peak quality for 5-7 days at room temperature.
Can I prepare baklava in advance? Absolutely! Baklava actually improves after resting overnight, allowing flavors to meld completely.
What causes soggy baklava? Excessive syrup application or insufficient baking time typically creates soggy results.
Which nuts work best in baklava recipes? Walnuts remain the traditional choice, while pistachios add premium flavor and vibrant color.
Conclusion
Mastering authentic baklava creation connects you to Mediterranean culinary heritage while filling your home with irresistible aromas. This golden, syrupy pastry represents more than dessert—it embodies tradition, patience, and the joy of sharing homemade treasures with loved ones.
Your first attempt might not achieve pastry-shop perfection, but it will deliver satisfaction and pride. Each layer tells your story, each bite creates memories, and each batch improves your technique.
Ready to start your baklava journey? Gather these premium ingredients today and transform your kitchen into a Mediterranean bakery. Share your results with family and friends—they’ll be amazed by your newfound pastry expertise. What flavor memories will your homemade baklava create?